When you open Hyper Bridge for the first time, an intuitive 22-step visual onboarding wizard guides you through compatibility validation, essential Android permissions, background optimizations, and core island behaviors.
This guide walks you through every screen of the wizard with visual screenshots.
Localized screenshots for other languages are stored in
/img/docs/onboarding/<lang>/. If you contribute translated documentation, you can supply screenshots matching your device language. Refer to the Translation Guide.1. Welcome & Device Compatibility#
Step 1: Welcome#
Tap Get Started to begin the initial onboarding workflow.
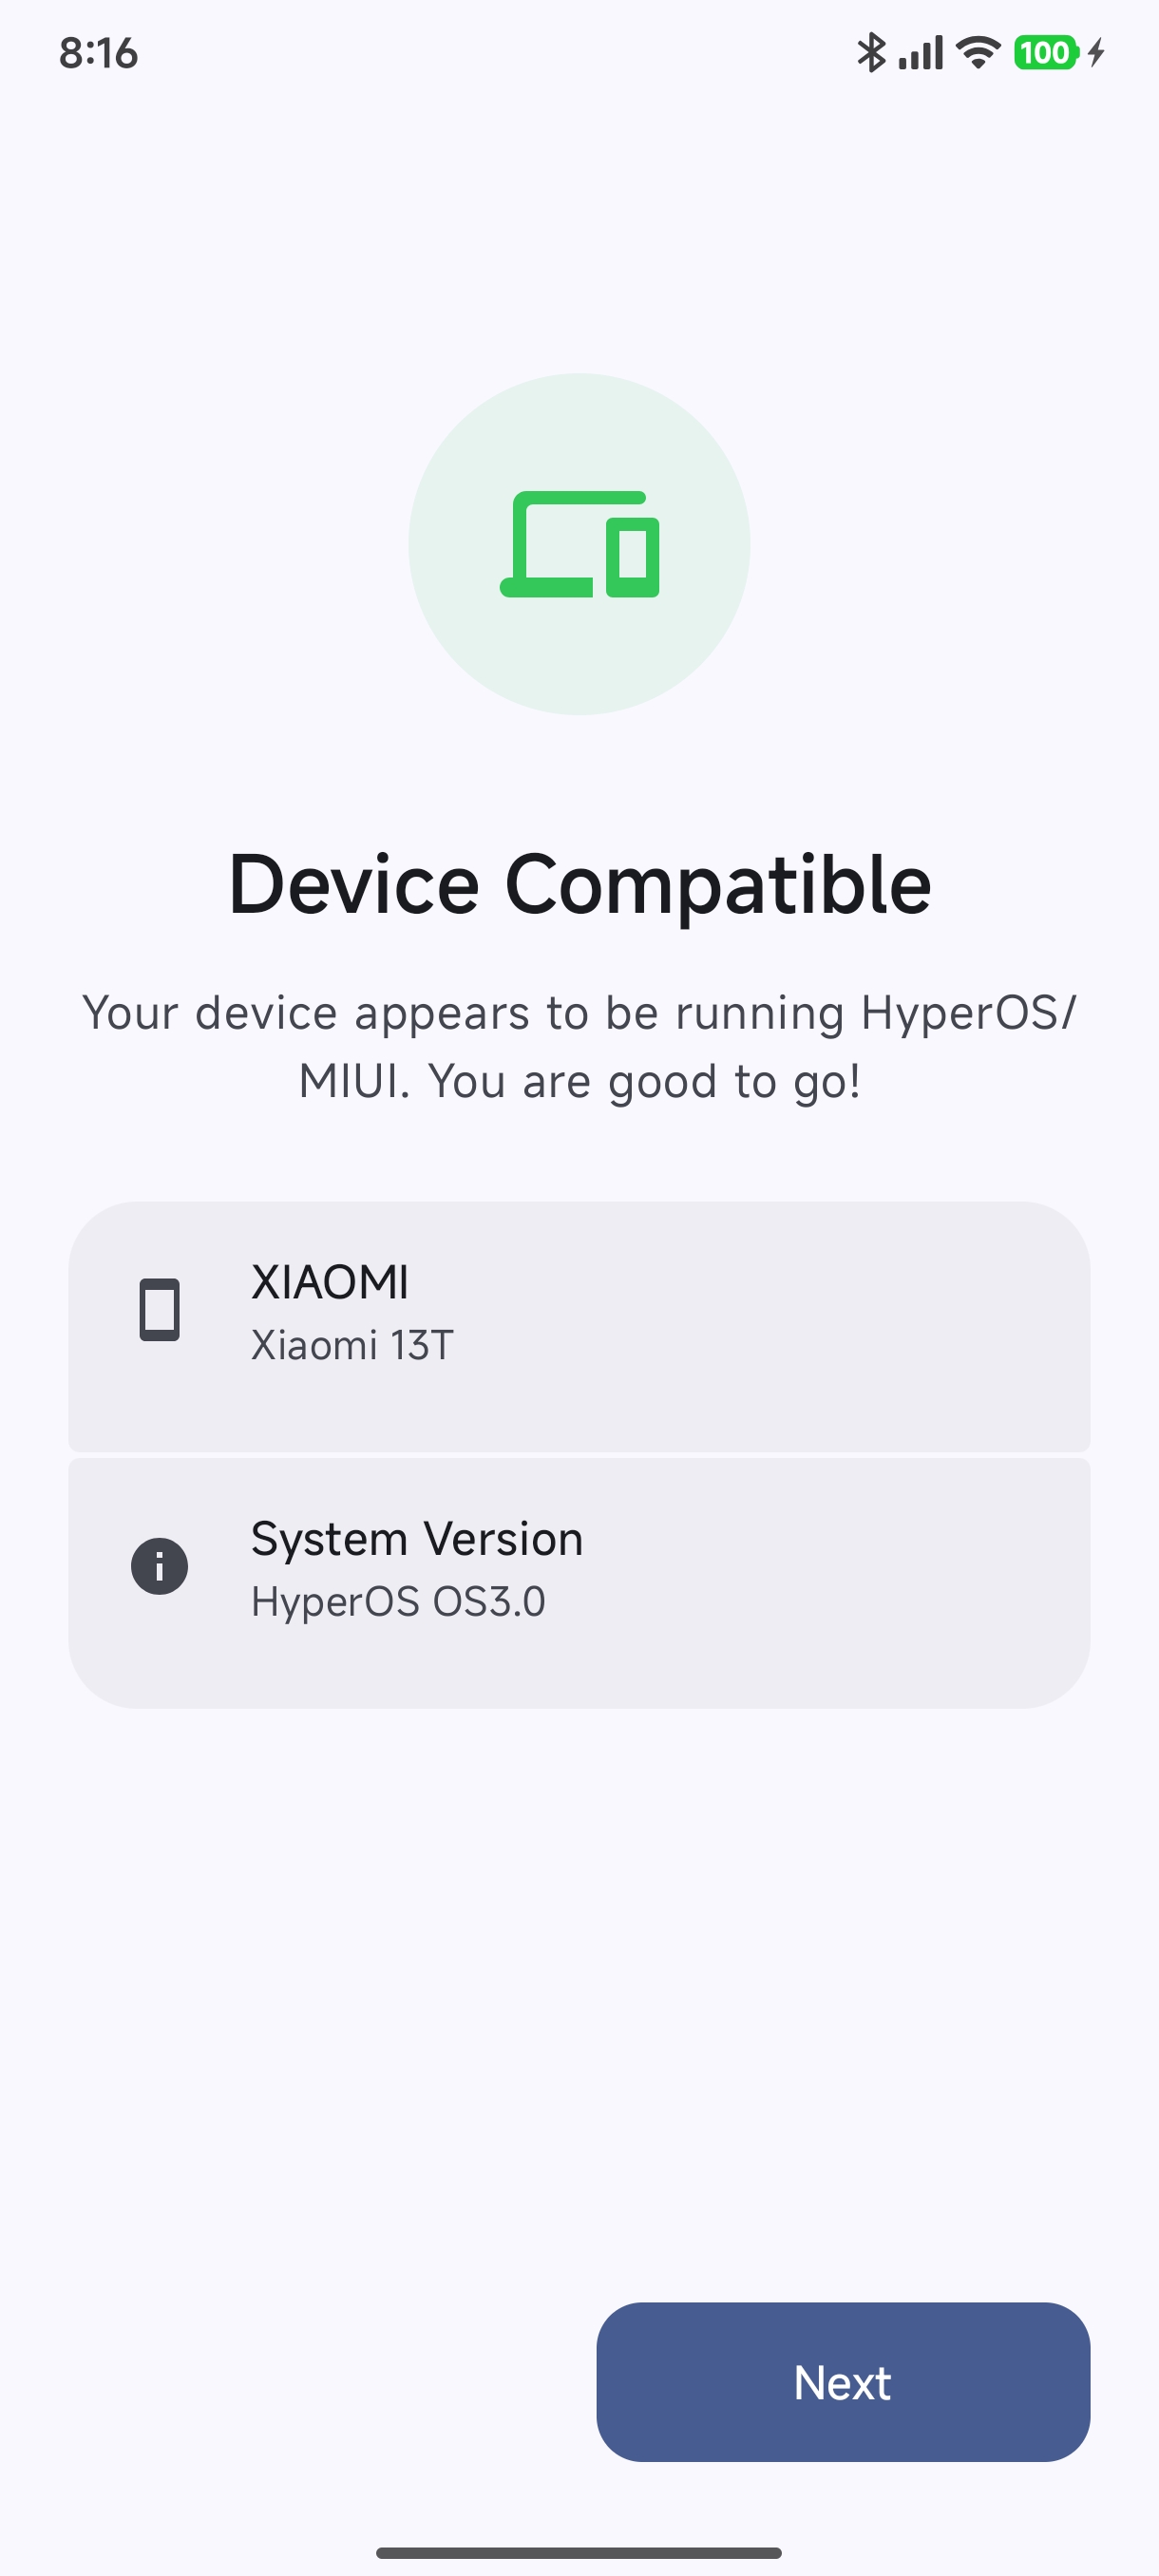
Step 2: Compatibility Verification#
Hyper Bridge inspects your device hardware and software version:
- Device Model: Identifies your Xiaomi, Redmi, or POCO device (e.g. Xiaomi 13T).
- System Version: Confirms Xiaomi HyperOS (OS1, OS2, OS3) or MIUI environment.
- Tap Next to proceed.
2. Essential Android & HyperOS Permissions#
To convert standard notifications into floating dynamic islands, Hyper Bridge requires three key system permissions.
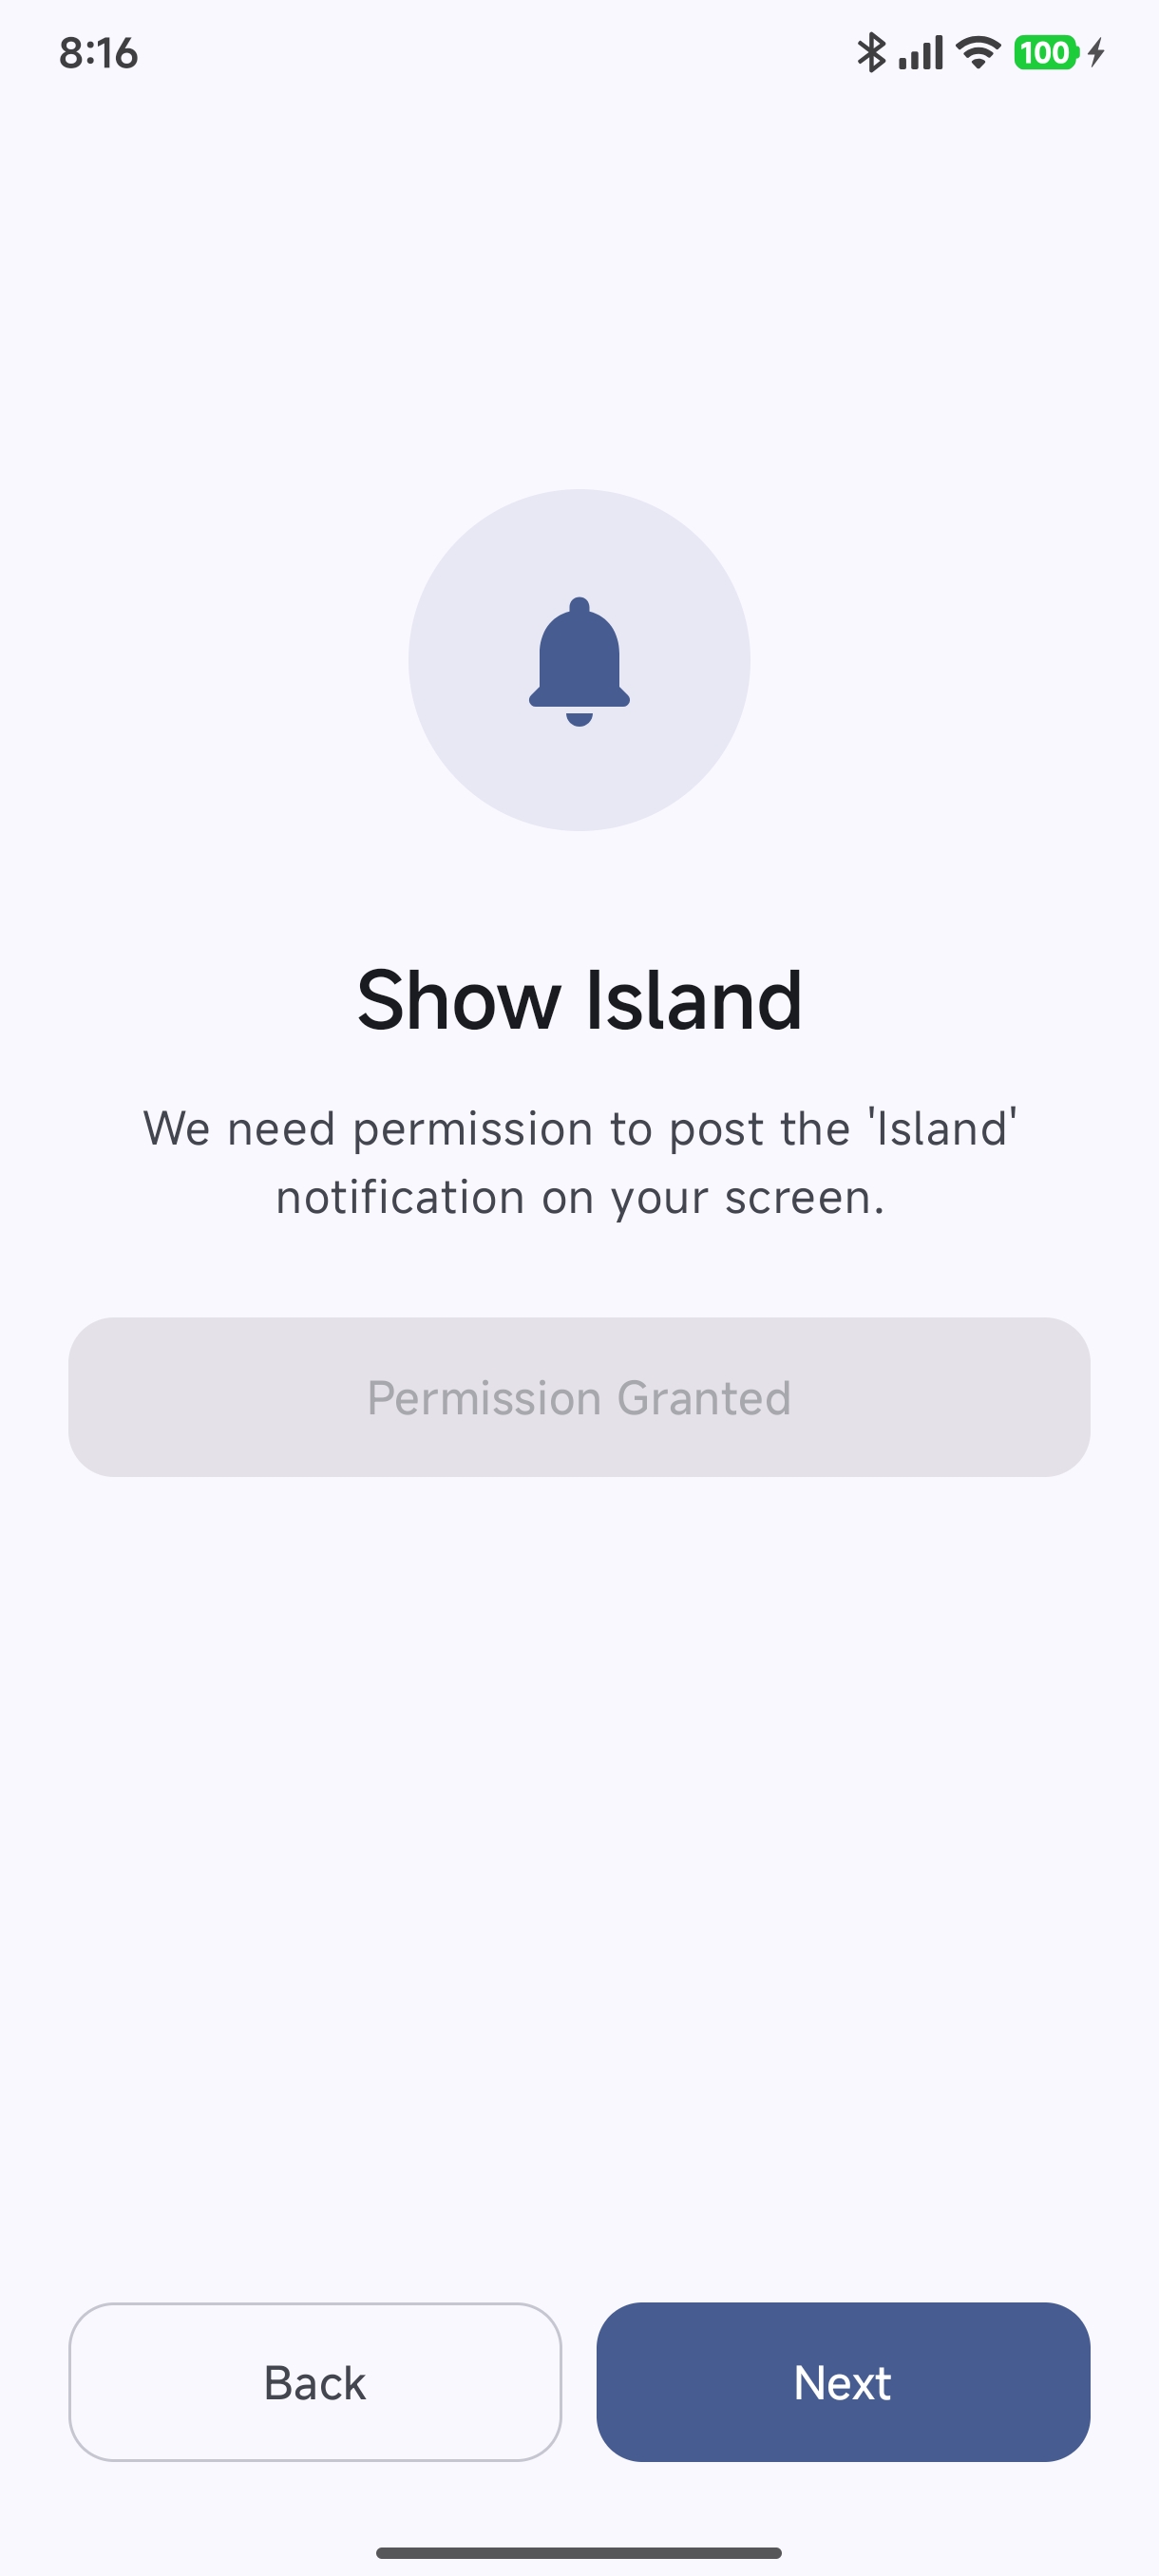
Step 3: Show Island (POST_NOTIFICATIONS)#
- Allows Hyper Bridge to post the dynamic island notification onto your screen.
- Tap Grant Permission and confirm in the system prompt. Once enabled, the button turns into Permission Granted.
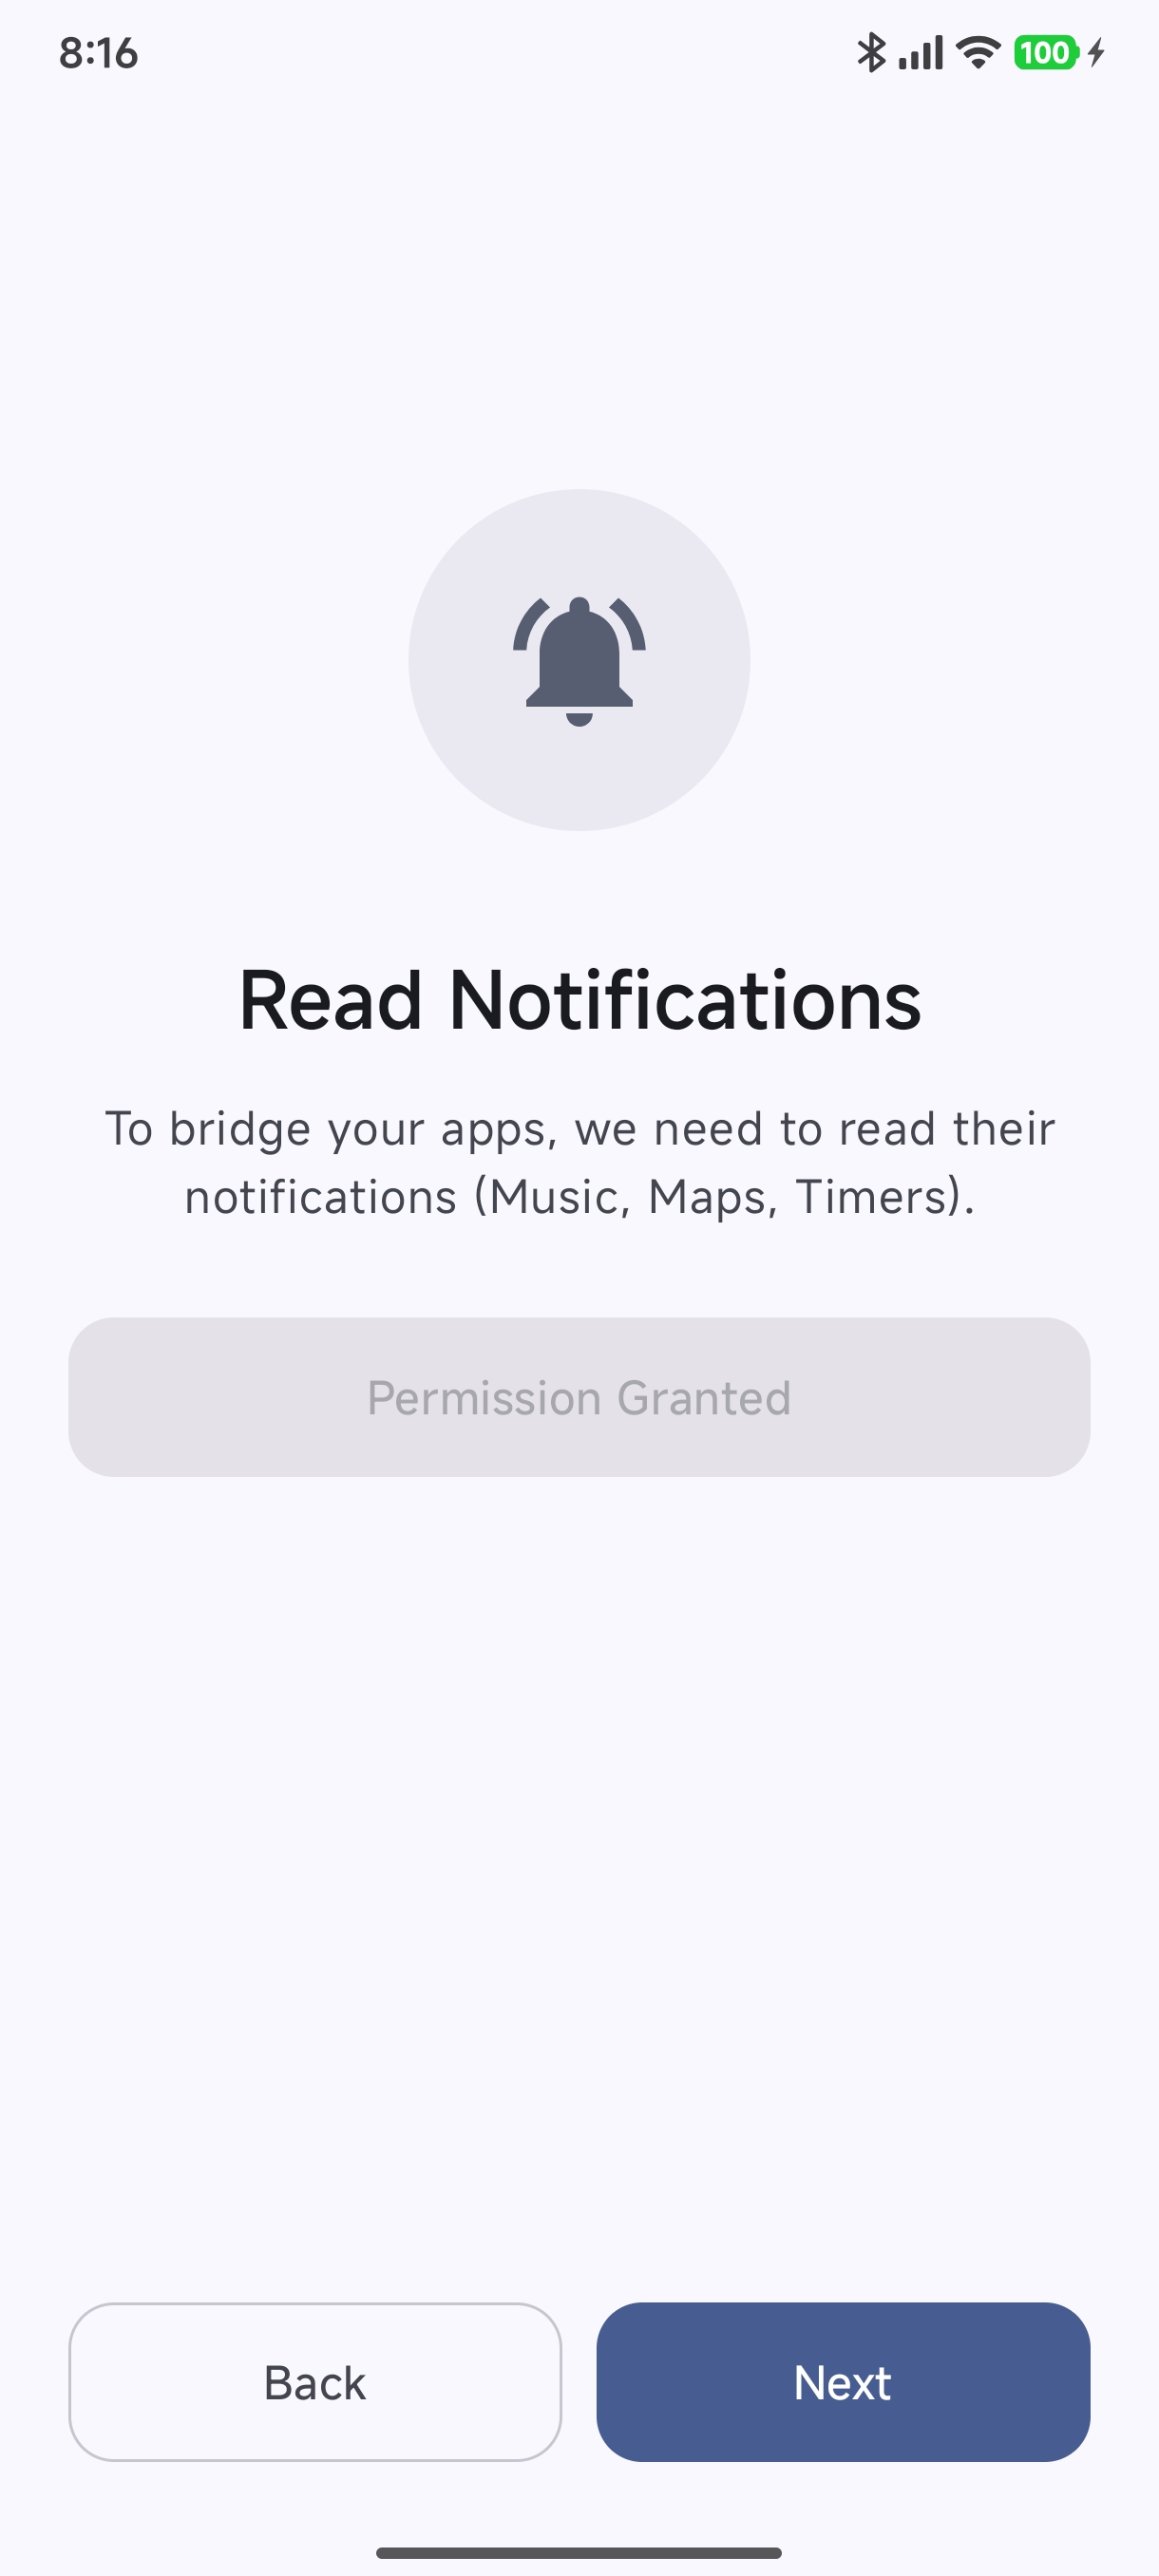
Step 4: Read Notifications (Notification Listener Service)#
- Hyper Bridge intercepts incoming notifications from apps you select (Spotify, Google Maps, WhatsApp, Telegram, Timers) to transform them into live islands.
- Tap Grant Permission → select Hyper Bridge in Android’s Notification Access system menu → enable Allow notification access.
- For more details, see the Notification Listener Guide.
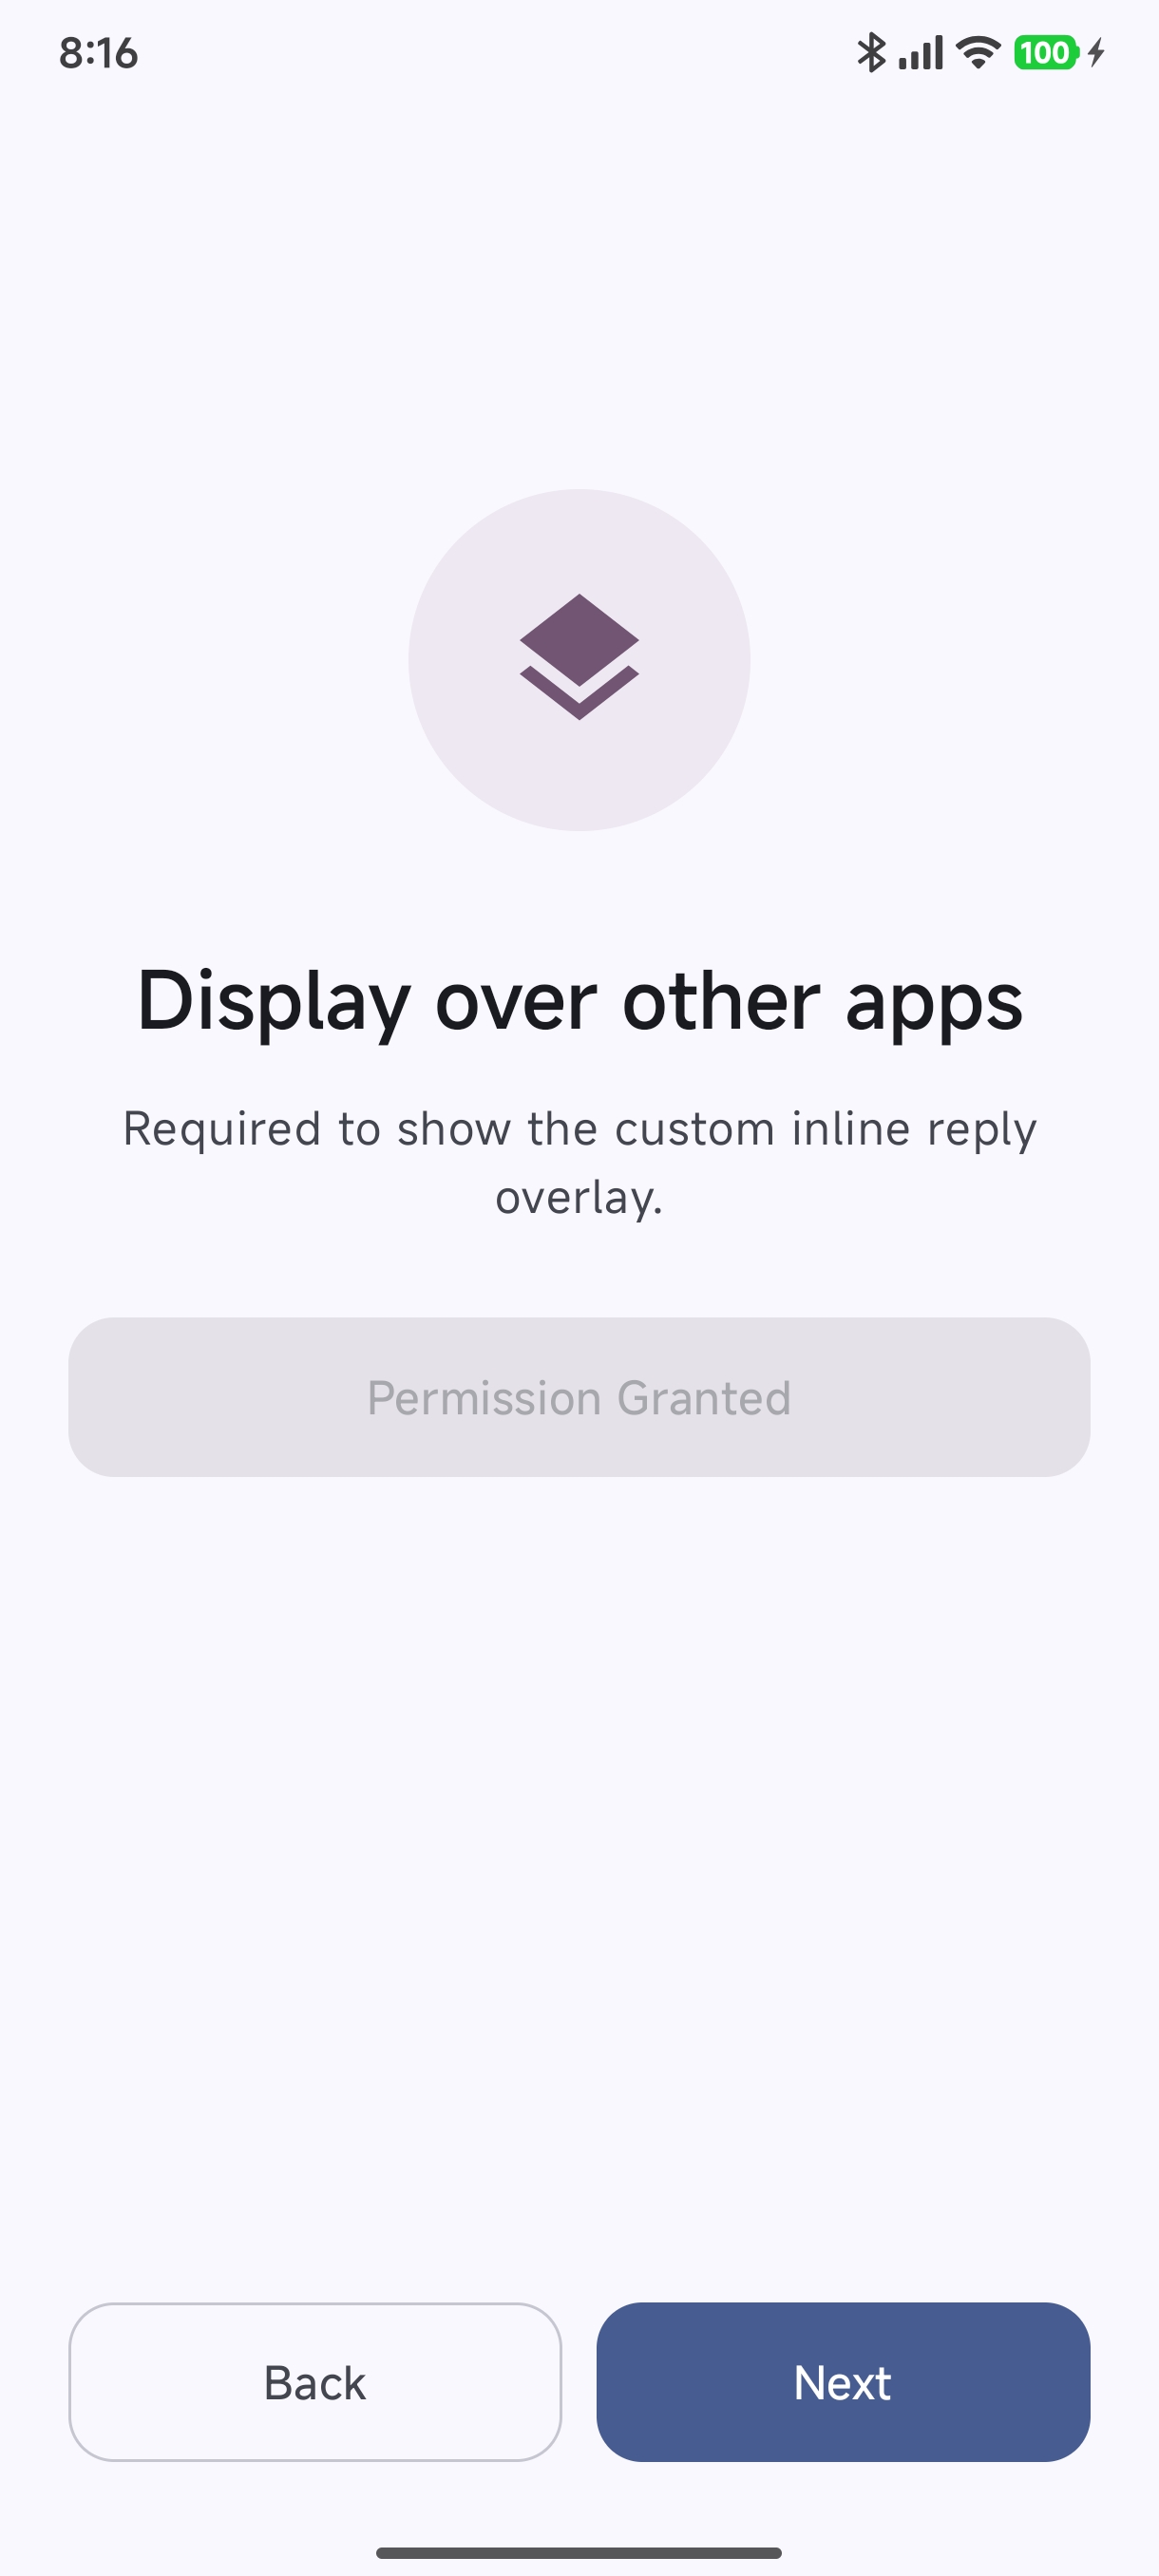
Step 5: Display Over Other Apps (SYSTEM_ALERT_WINDOW)#
- Required to render the interactive quick inline reply overlay when tapping reply on an island notification.
- Tap Grant Permission → toggle Allow display over other apps.
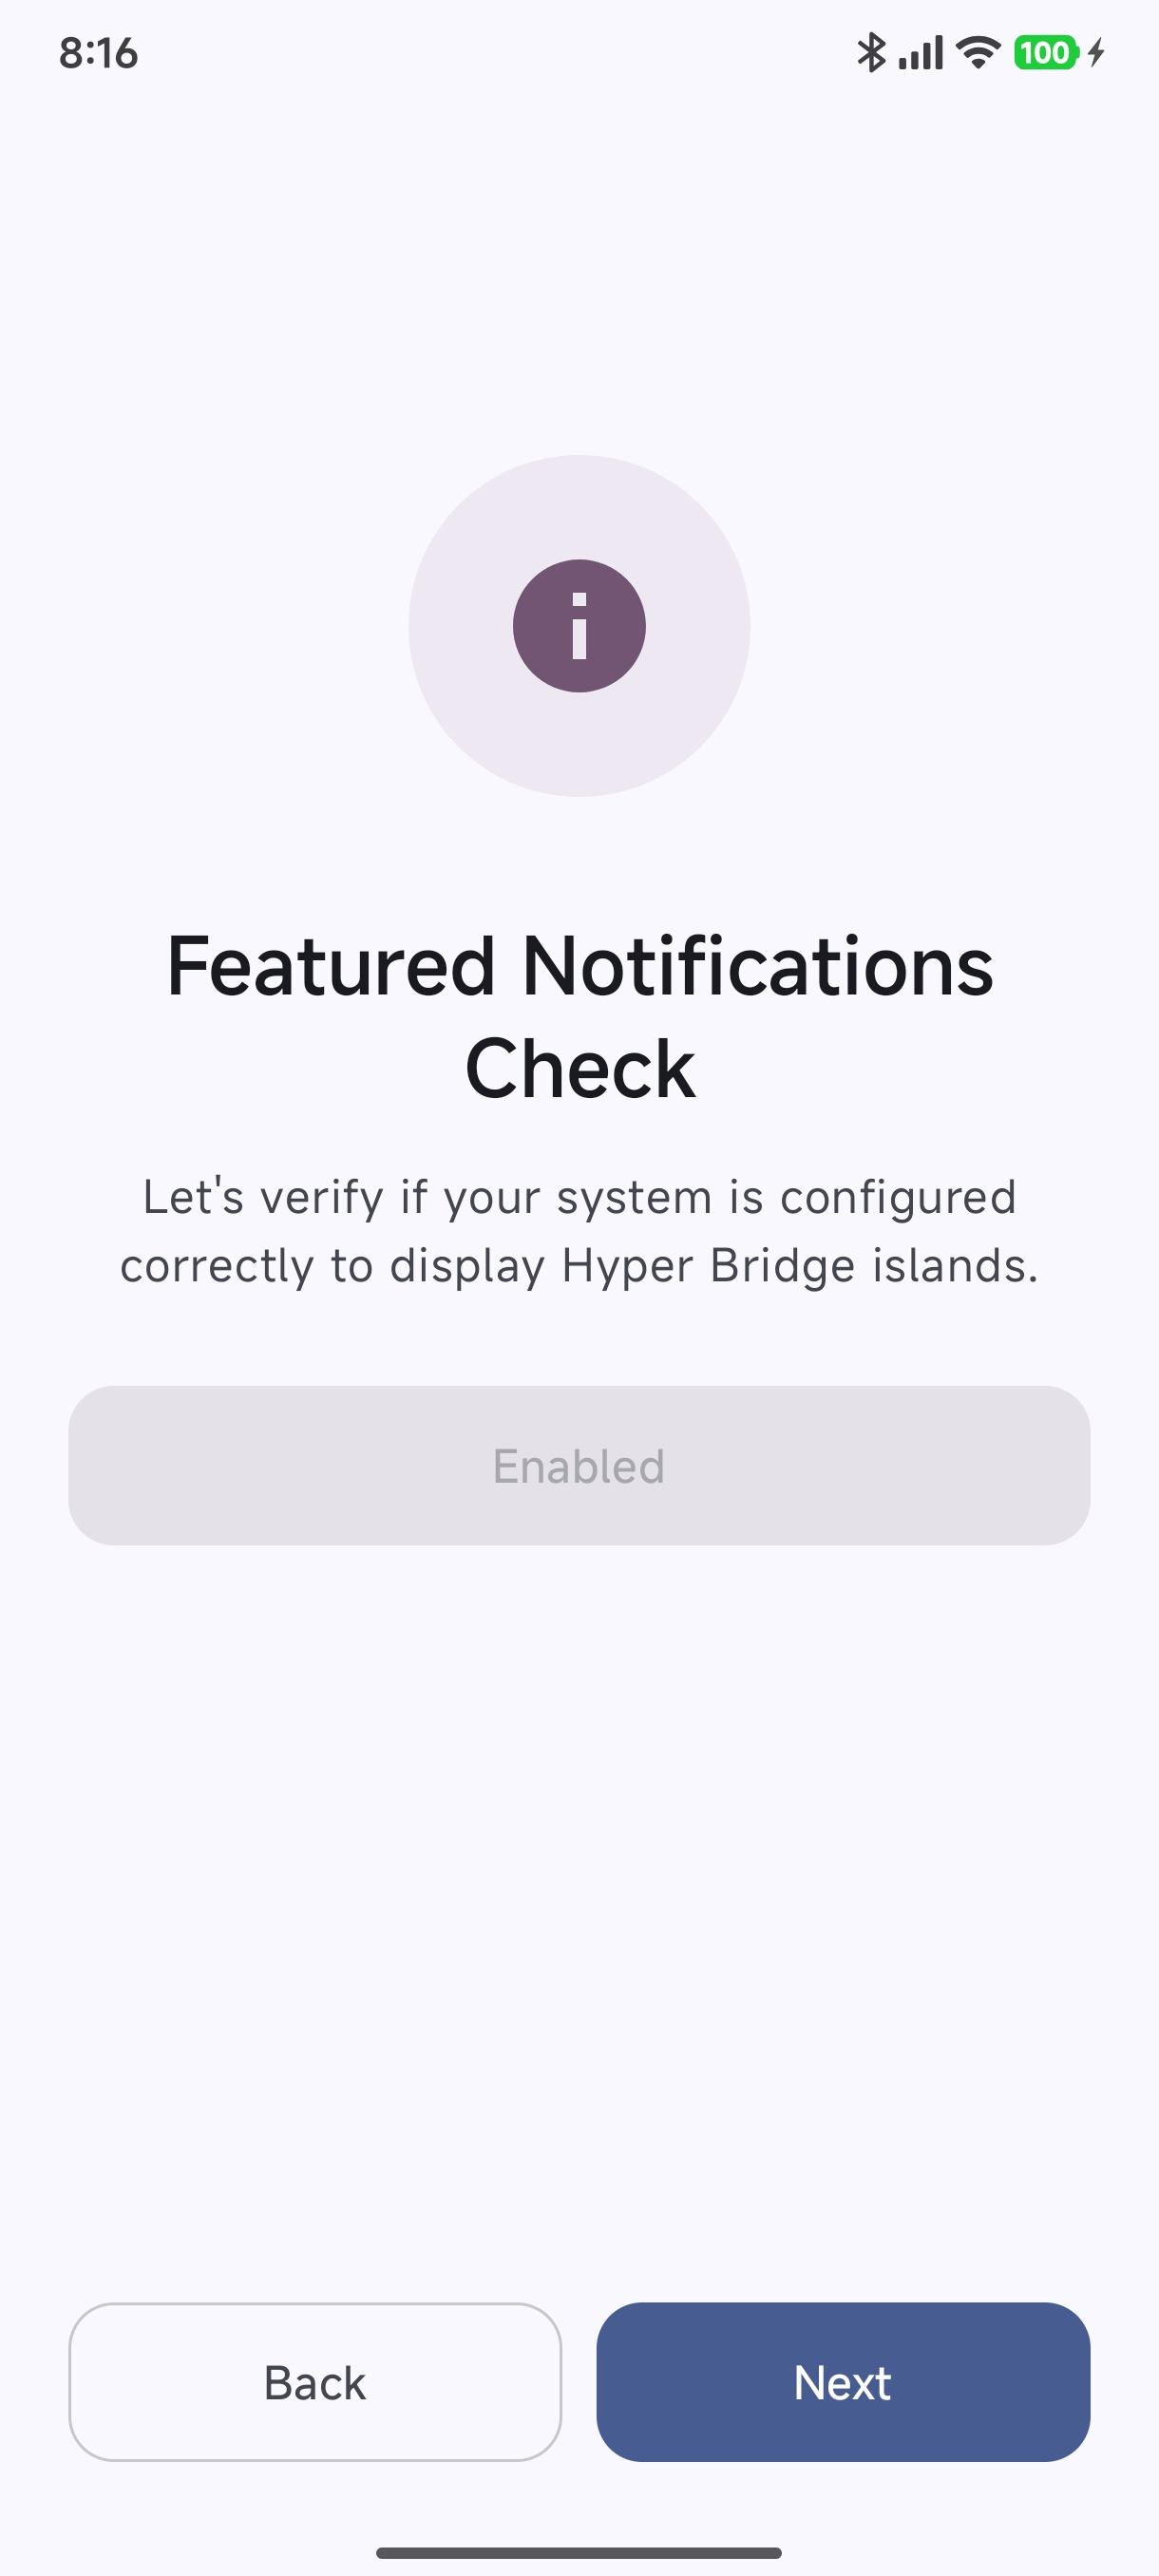
Step 6: Featured Notifications Check#
- Verifies whether your HyperOS installation allows custom apps to access the privileged Xiaomi Island notification channel.
- If your ROM requires manual focus configuration, follow the instructions in the HyperOS Focus Permissions Guide.
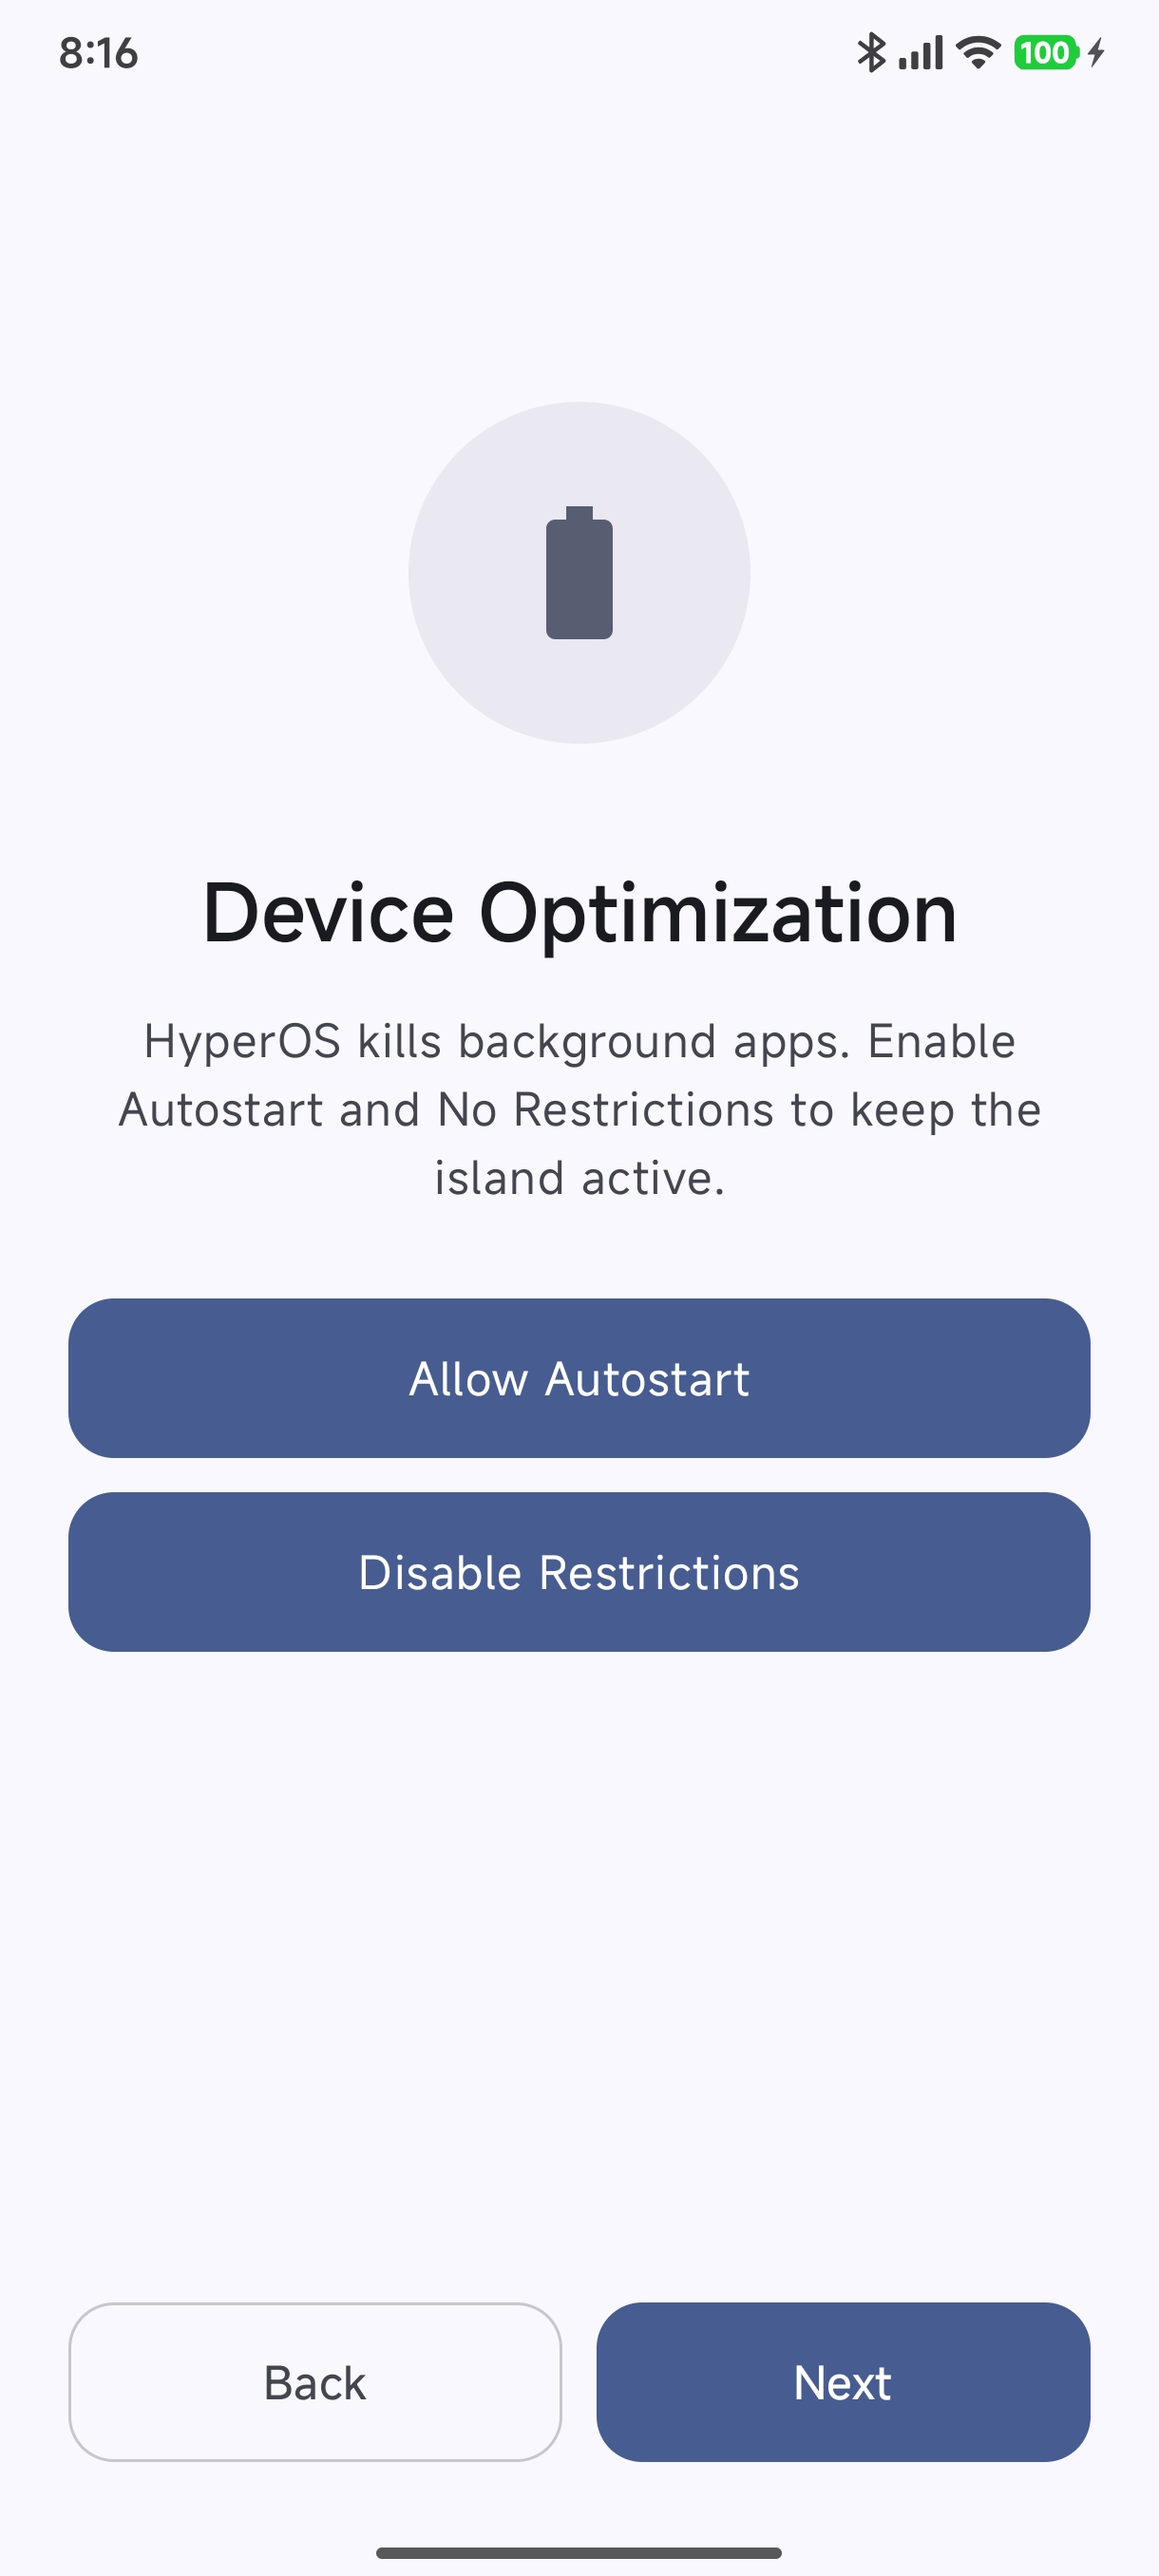
Step 7: Device Optimization (Autostart & Battery)#
Xiaomi HyperOS features strict memory and background management. To ensure your islands never freeze or miss events:
- Tap Allow Autostart: Enables Hyper Bridge to restart automatically on device reboot.
- Tap Disable Restrictions: Sets battery saver mode to No Restrictions.
- Read the complete Battery & Autostart Guide for troubleshooting.
3. Privacy, Architecture & Feature Overview#
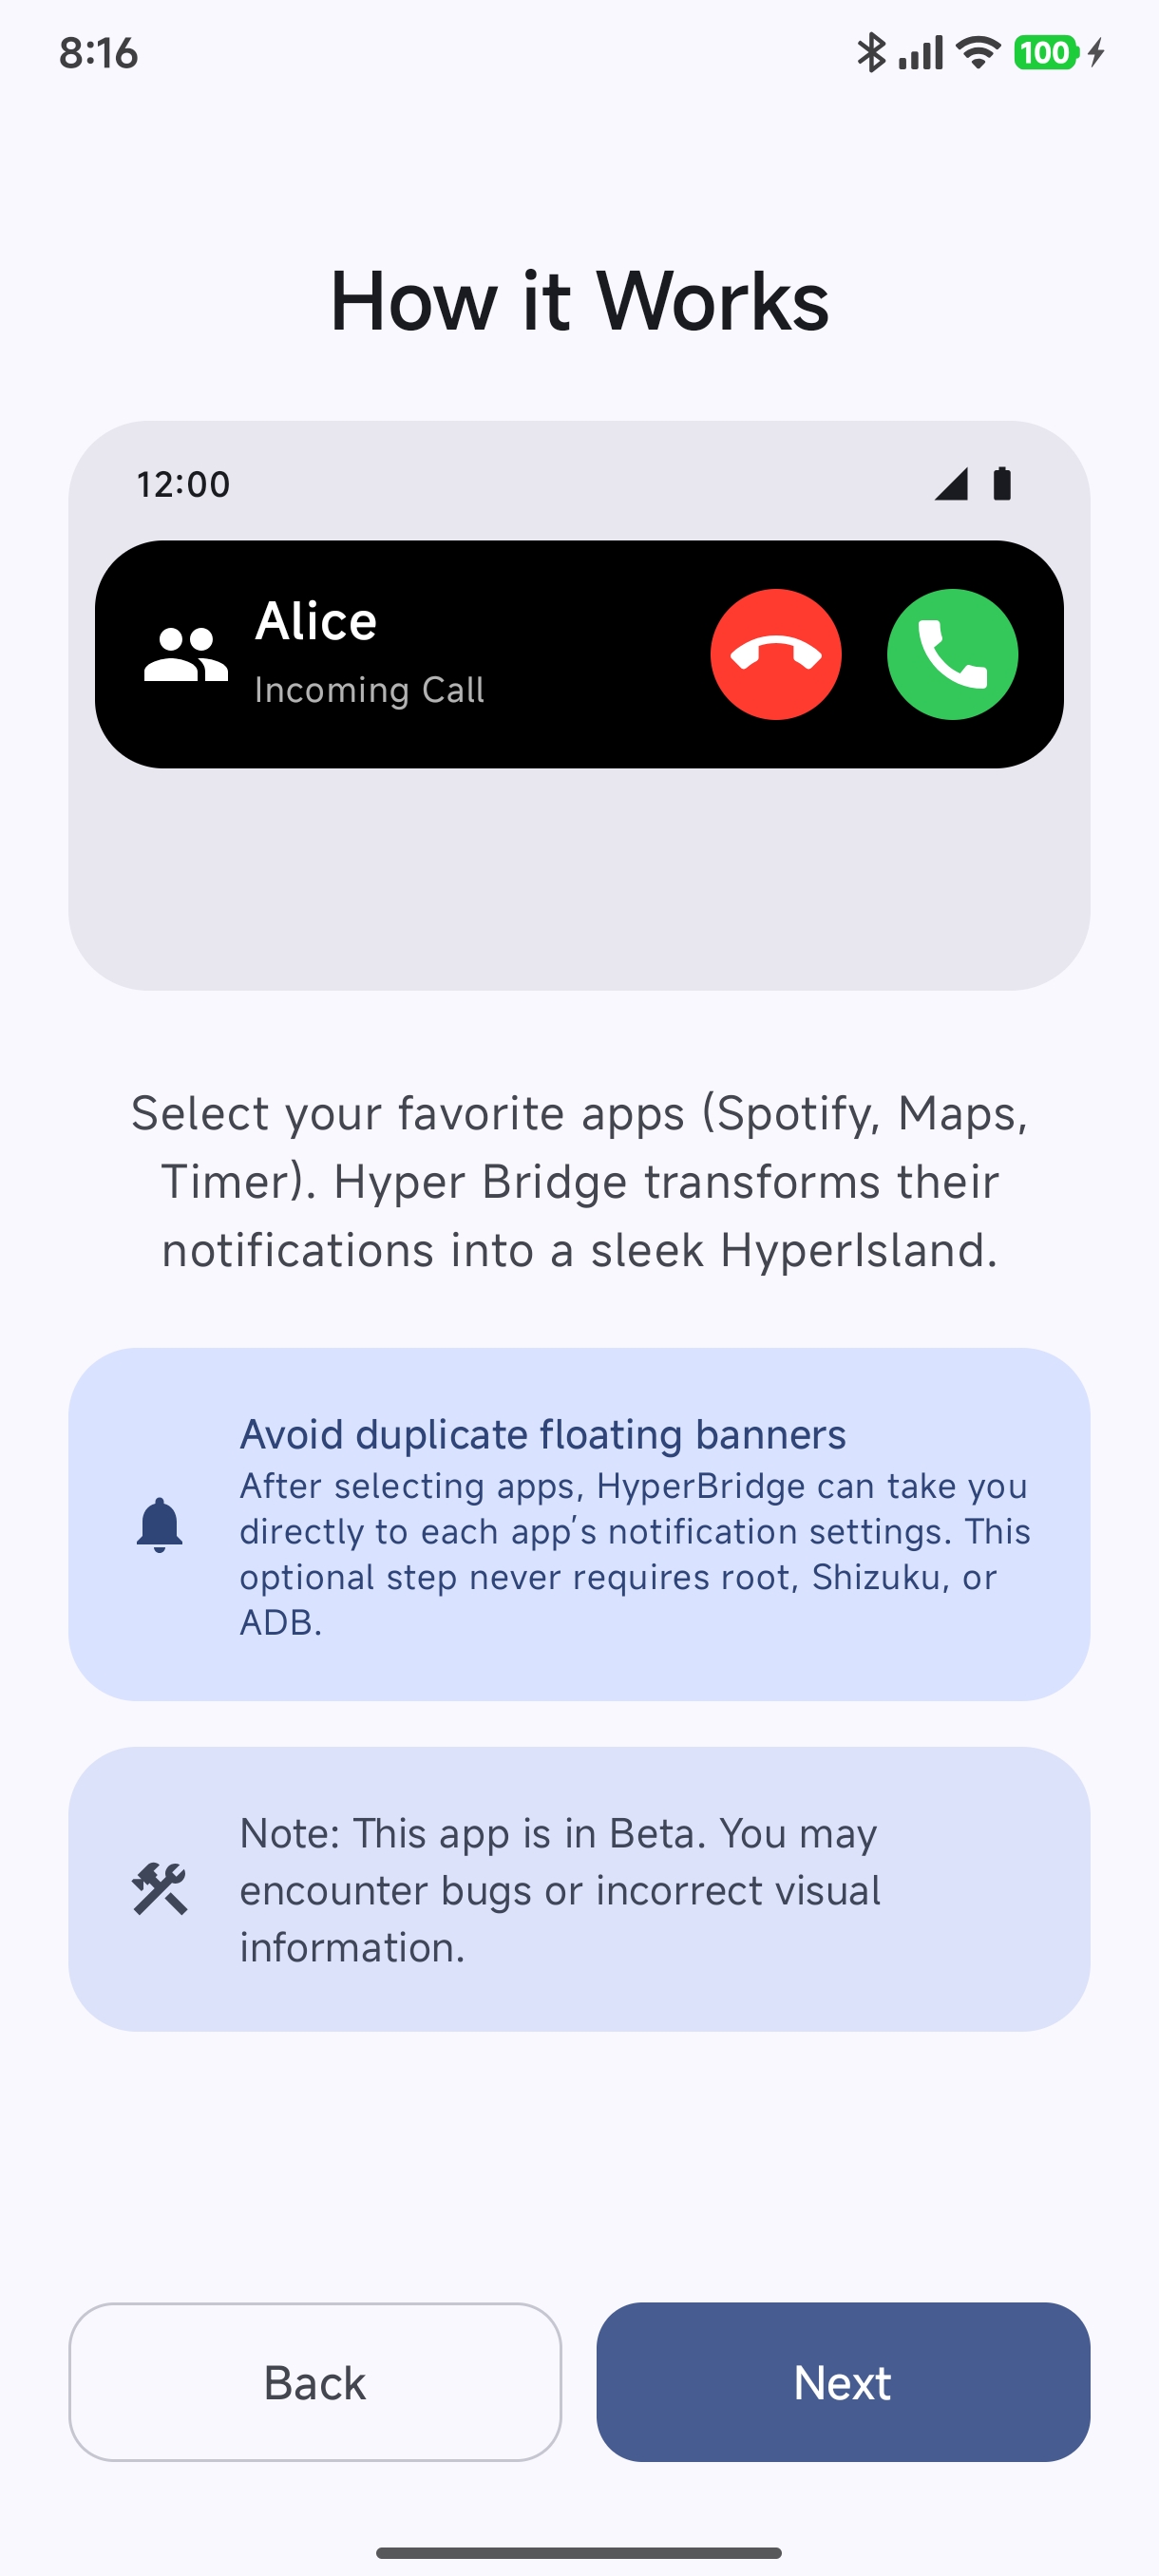
Step 8: How it Works#
- Shows a live interactive call preview.
- Tip on Floating Banners: To avoid seeing both the default Android floating pop-up banner and the Xiaomi HyperIsland at the same time, you can selectively disable floating banner notifications in the target app’s system notification channel. (This is completely optional and never requires root or Shizuku).
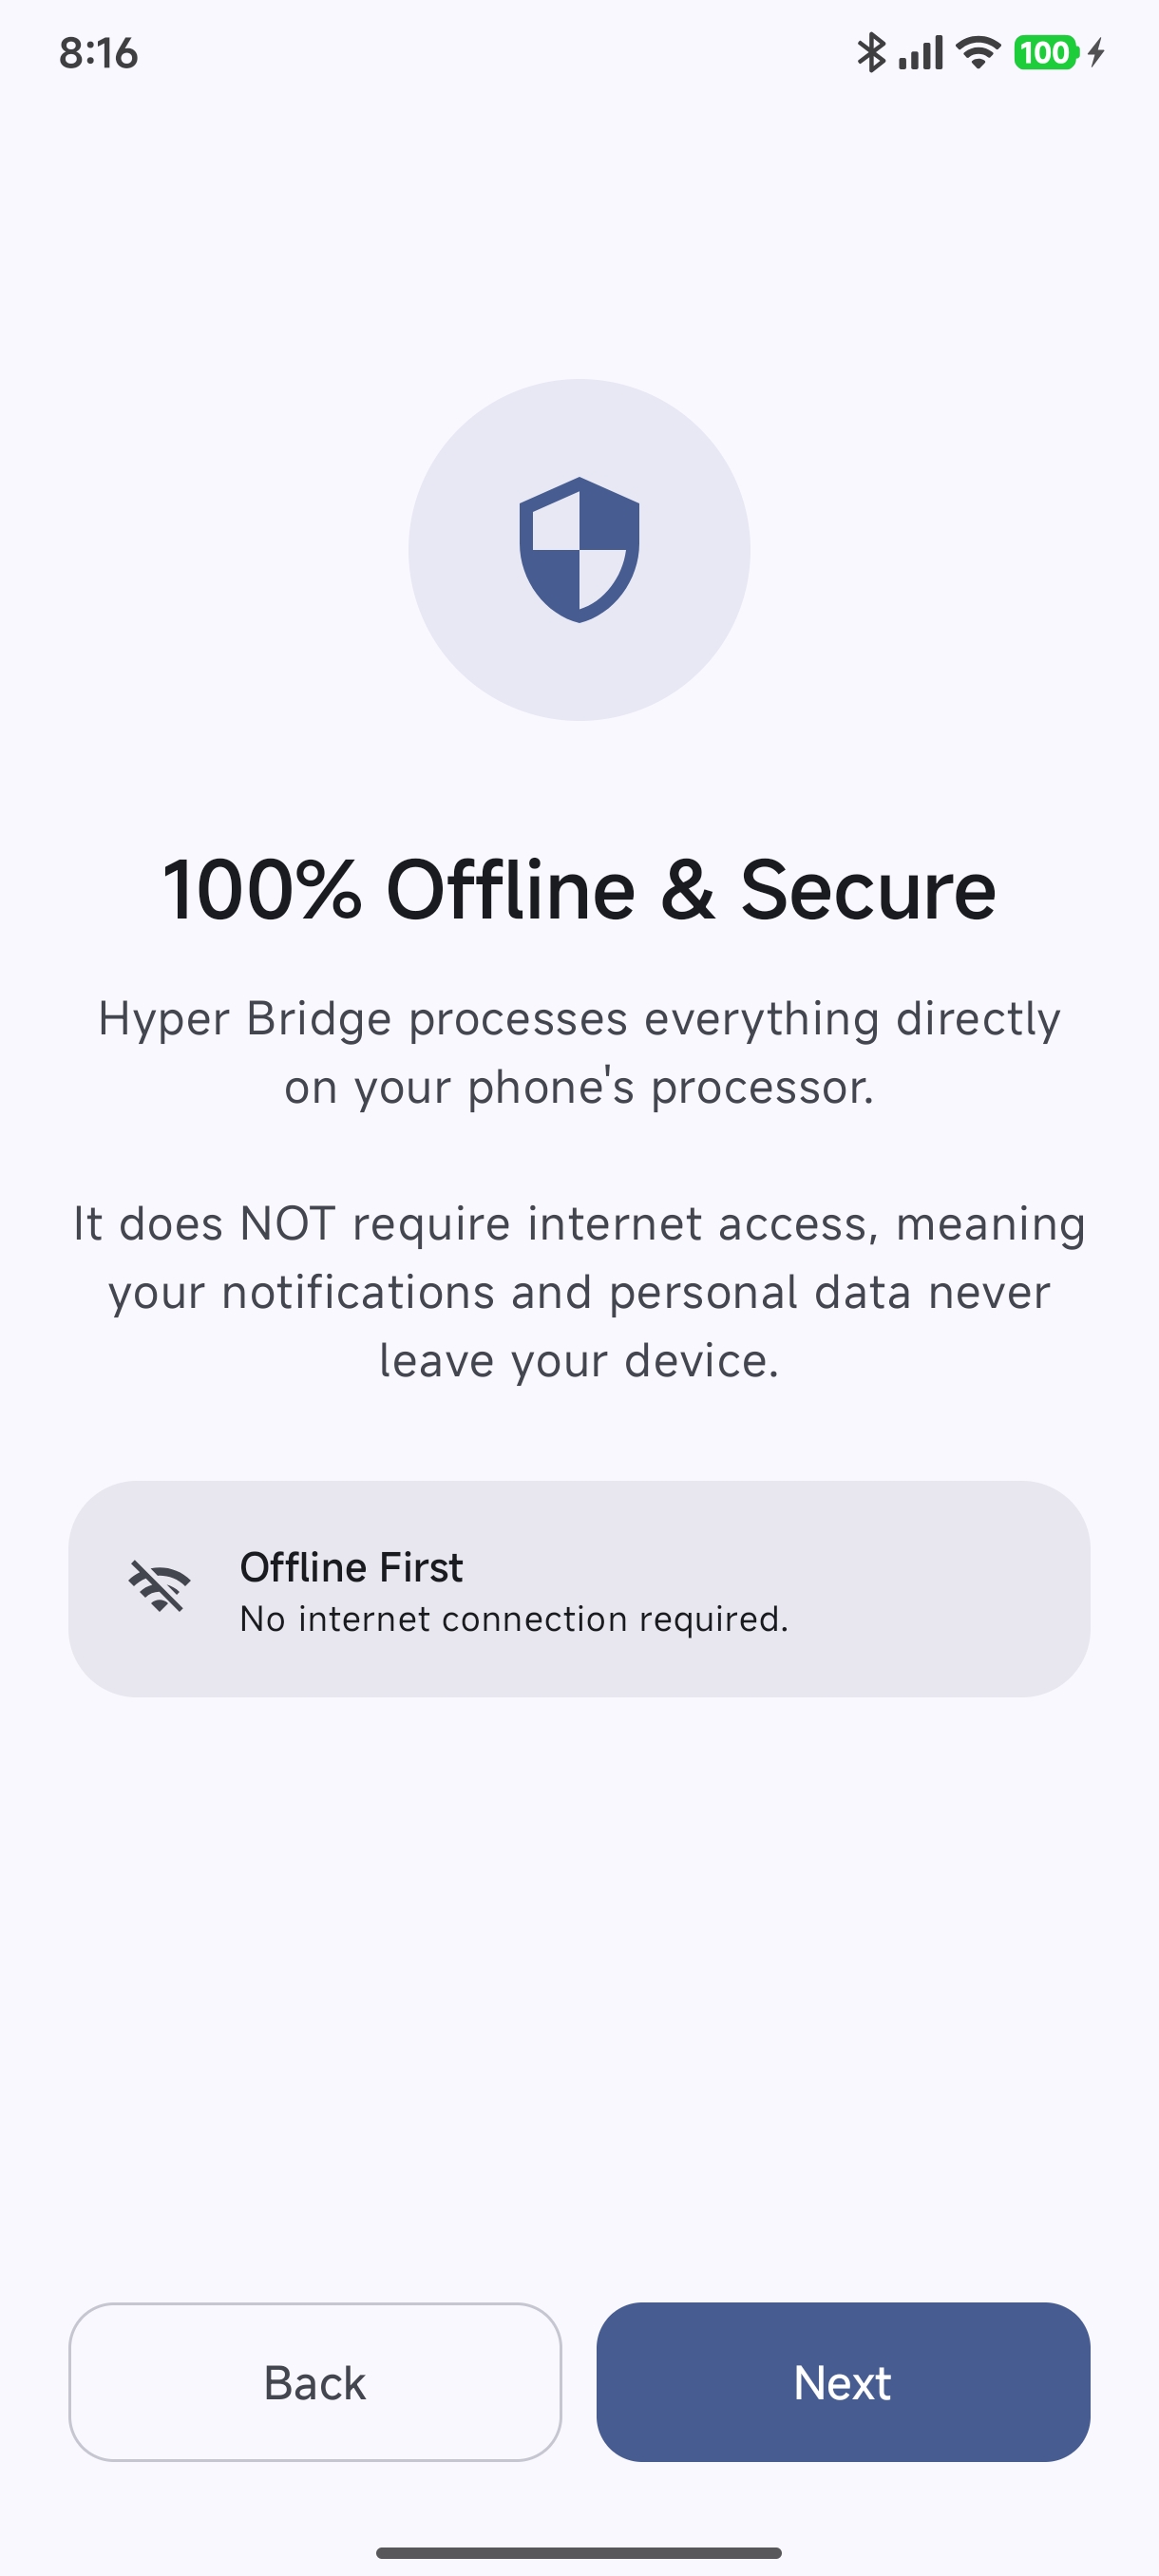
Step 9: 100% Offline & Secure#
- Hyper Bridge operates entirely on-device: zero internet permissions (
android.permission.INTERNETis not requested). - Your messages, contacts, media metadata, and personal data never leave your phone.
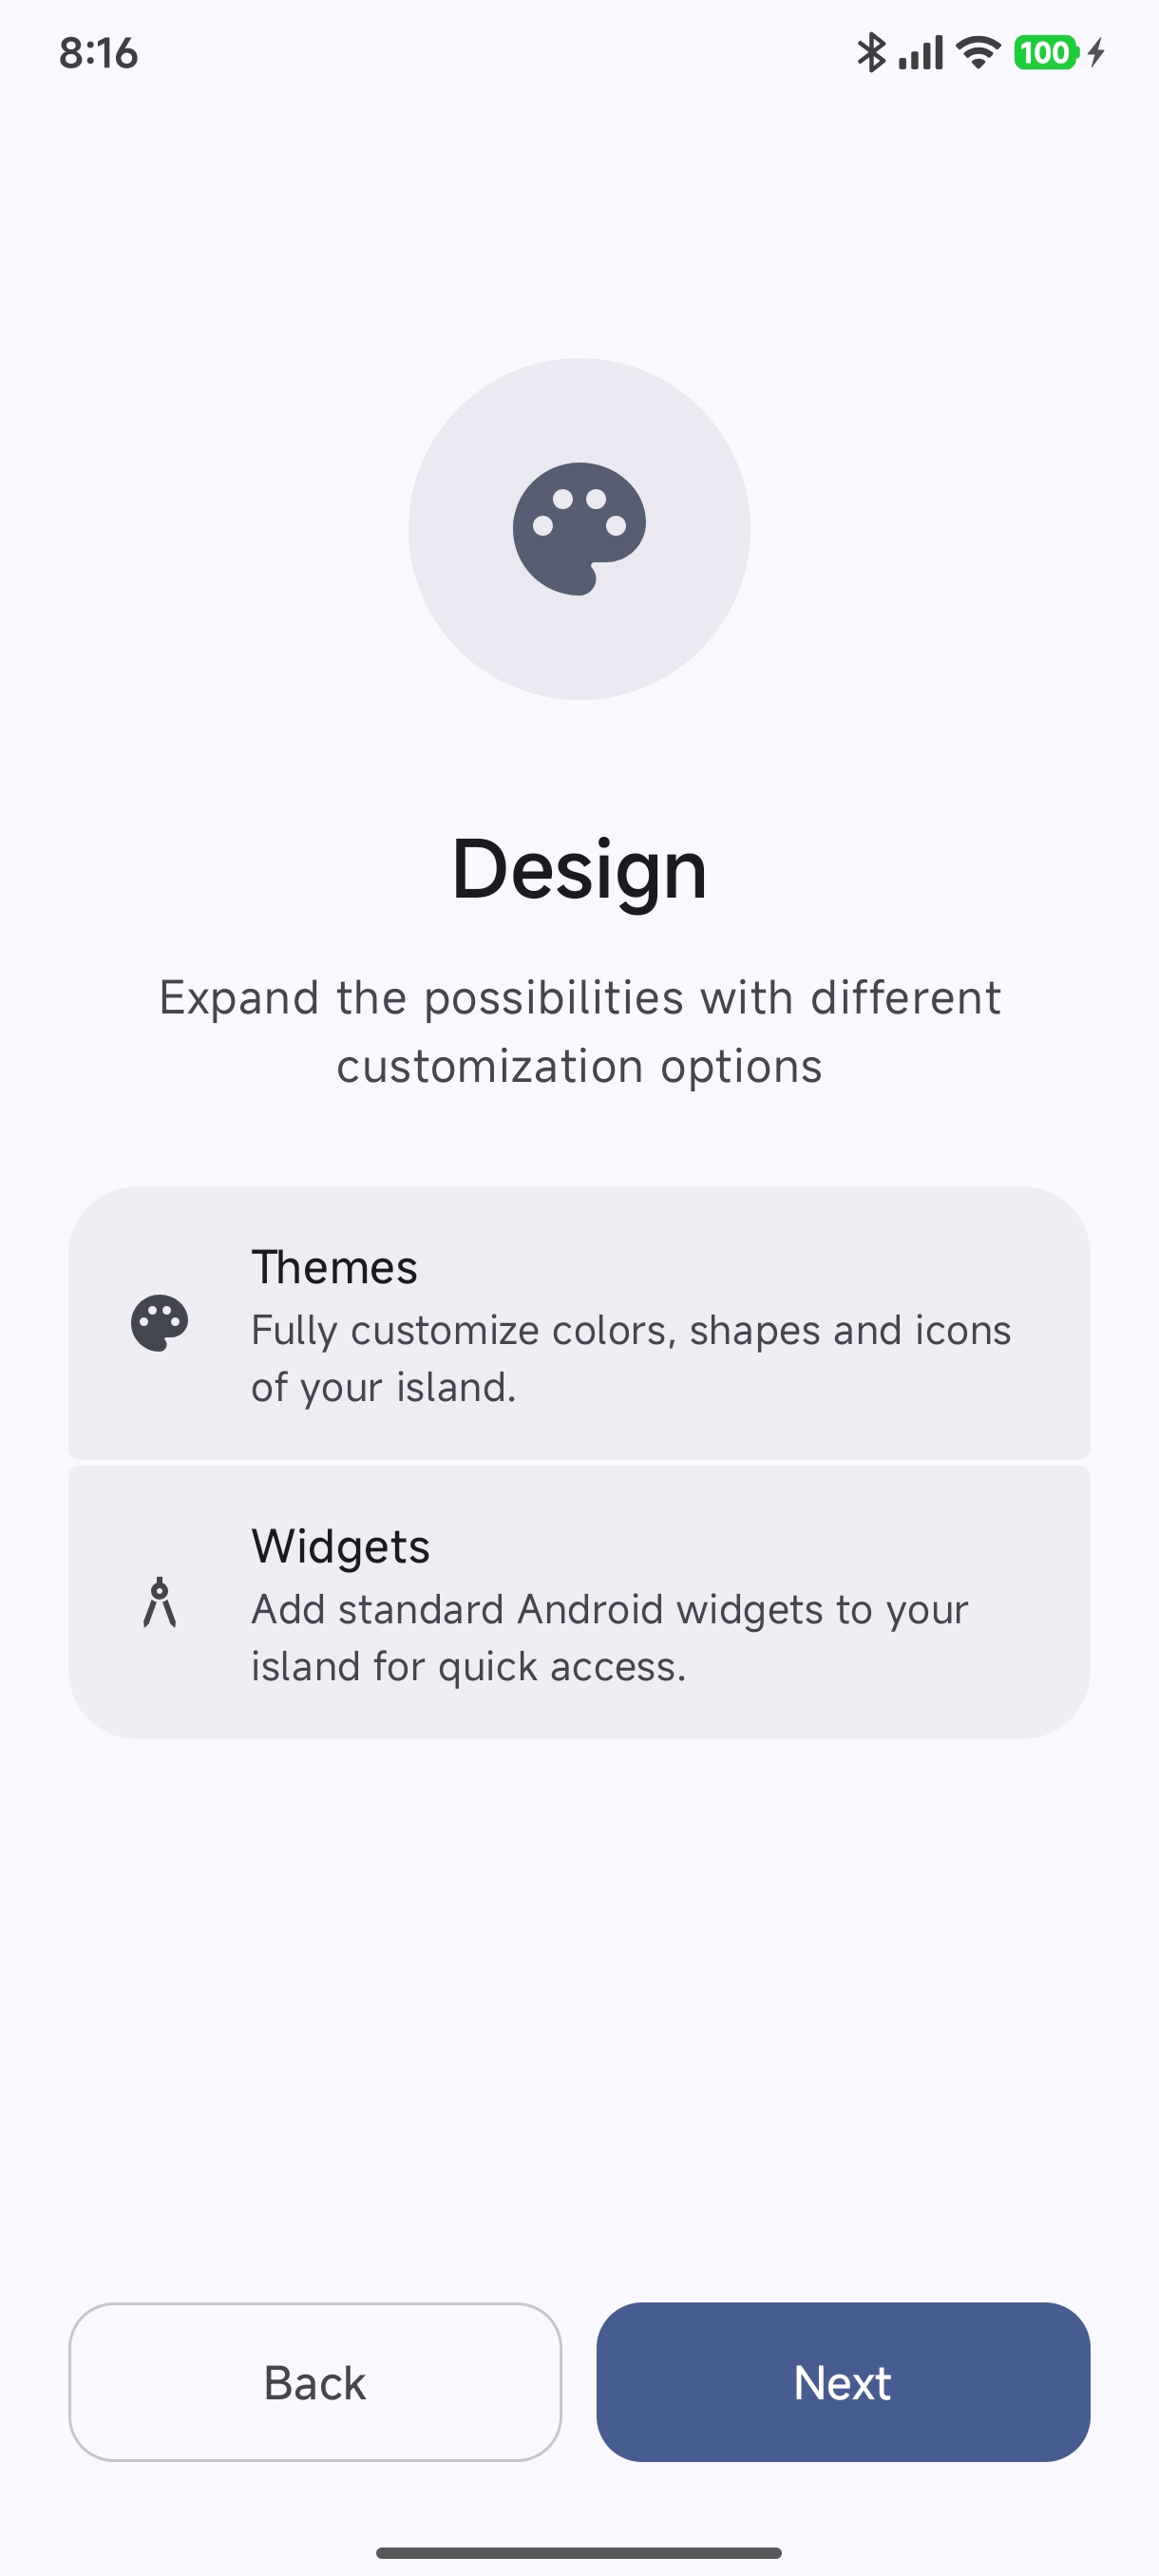
Step 10: Personalization Capabilities#
Hyper Bridge introduces you to the visual customization tools:
- Themes: Full control over highlight colors, icon shape masks (cookie, squircle, clover8), and call controls.
- Widgets: Ability to mount standard Android home-screen widgets (clocks, battery bars, Spotify cards) directly into the HyperIsland.
4. Active Triggers Configuration#
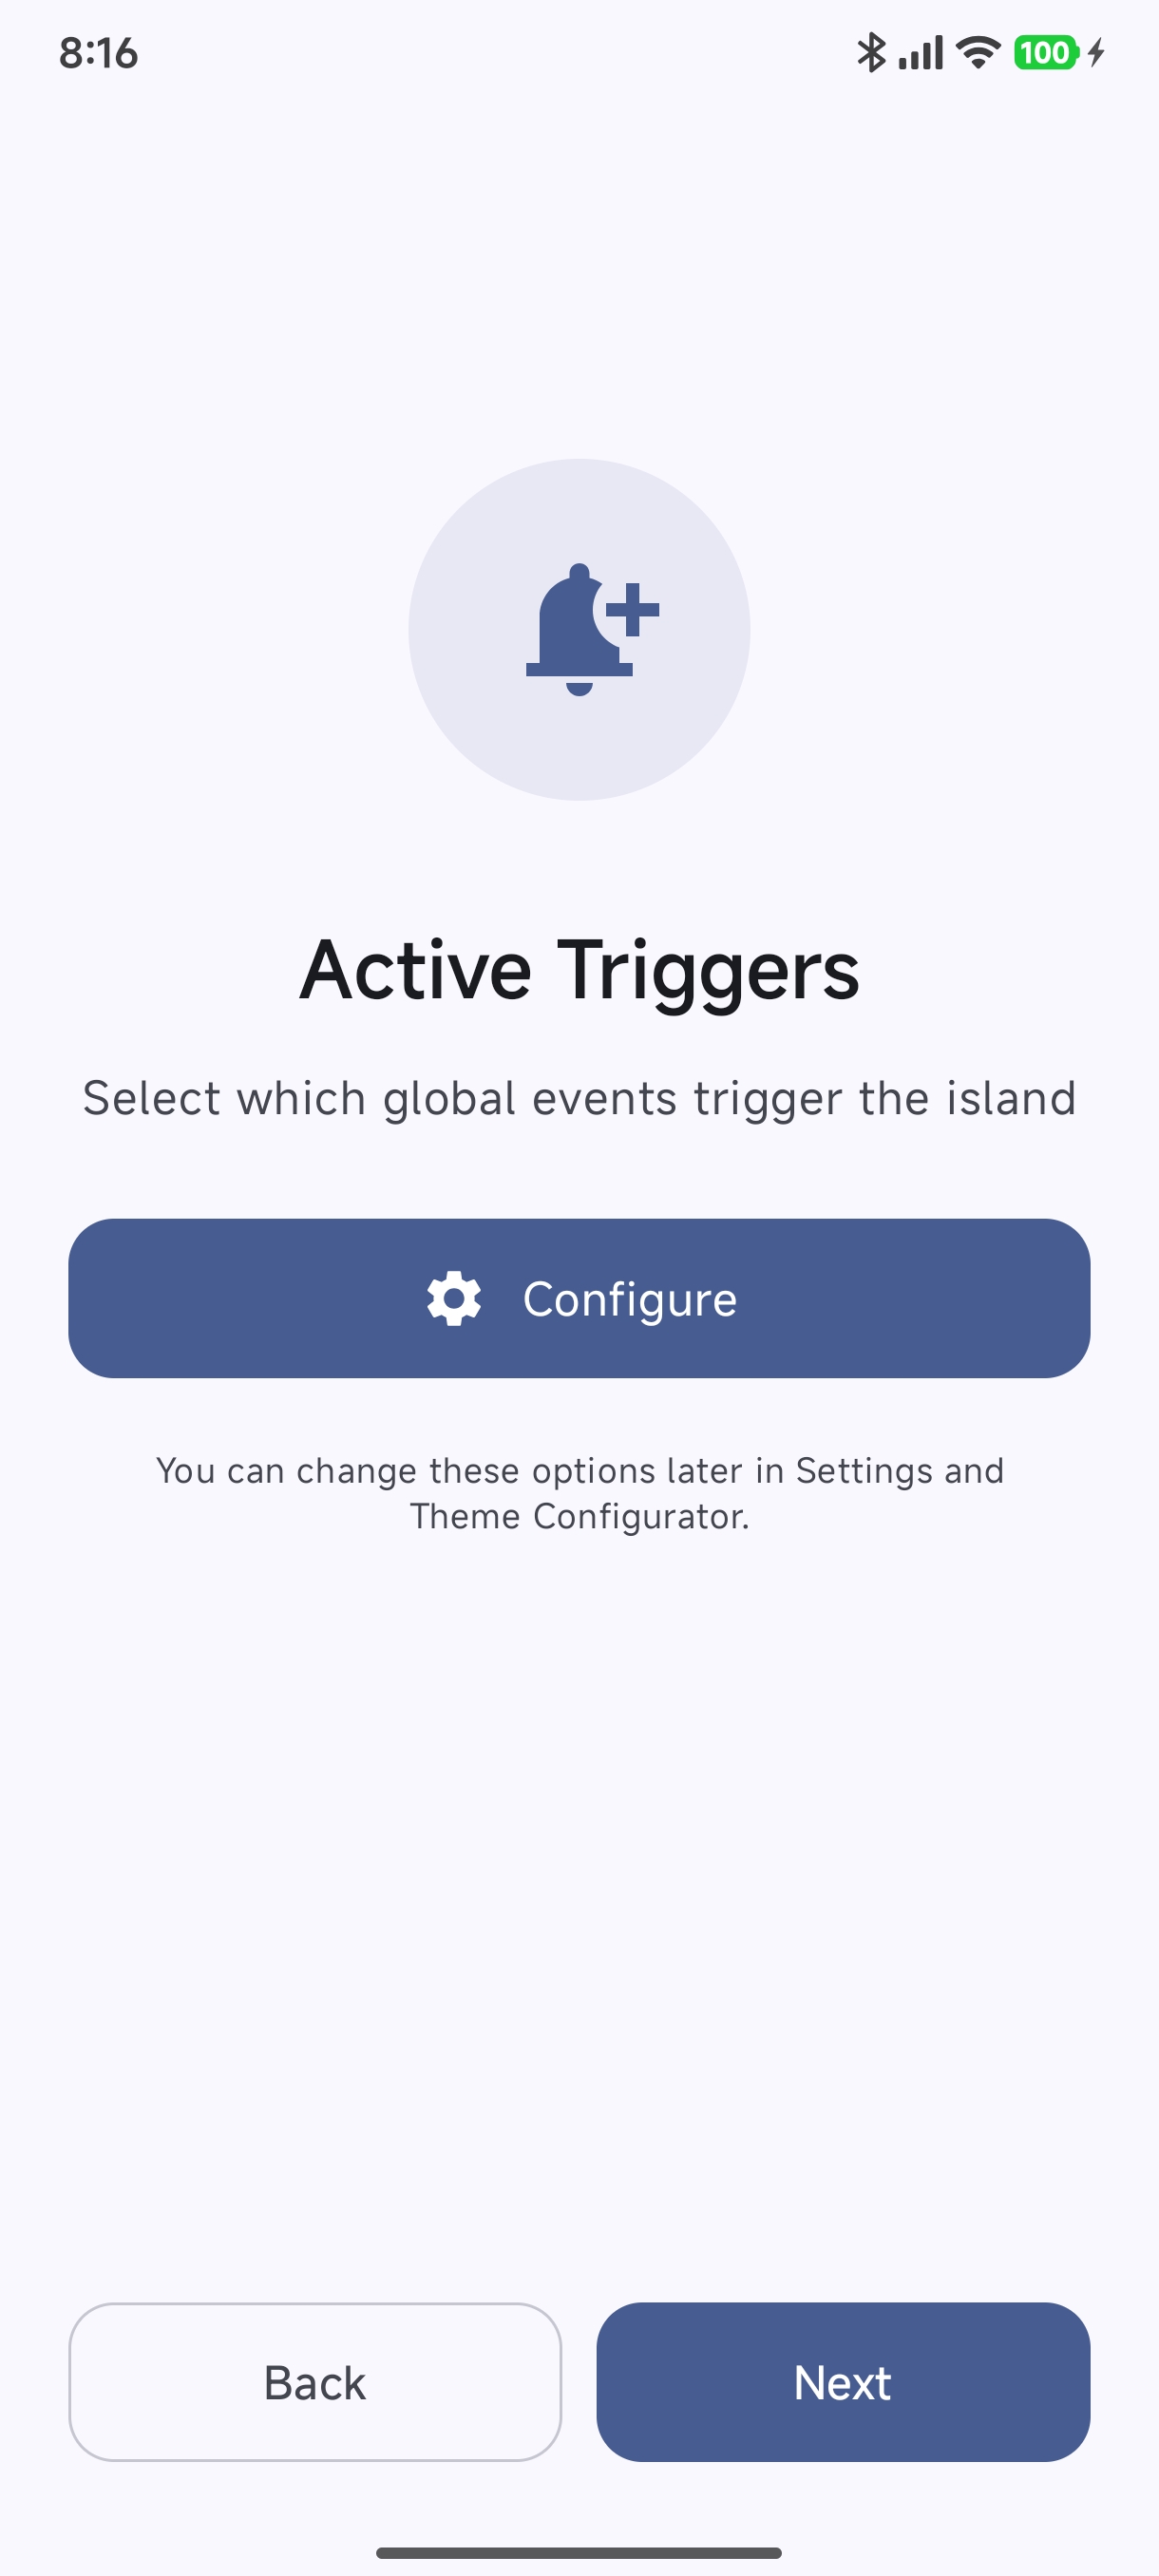
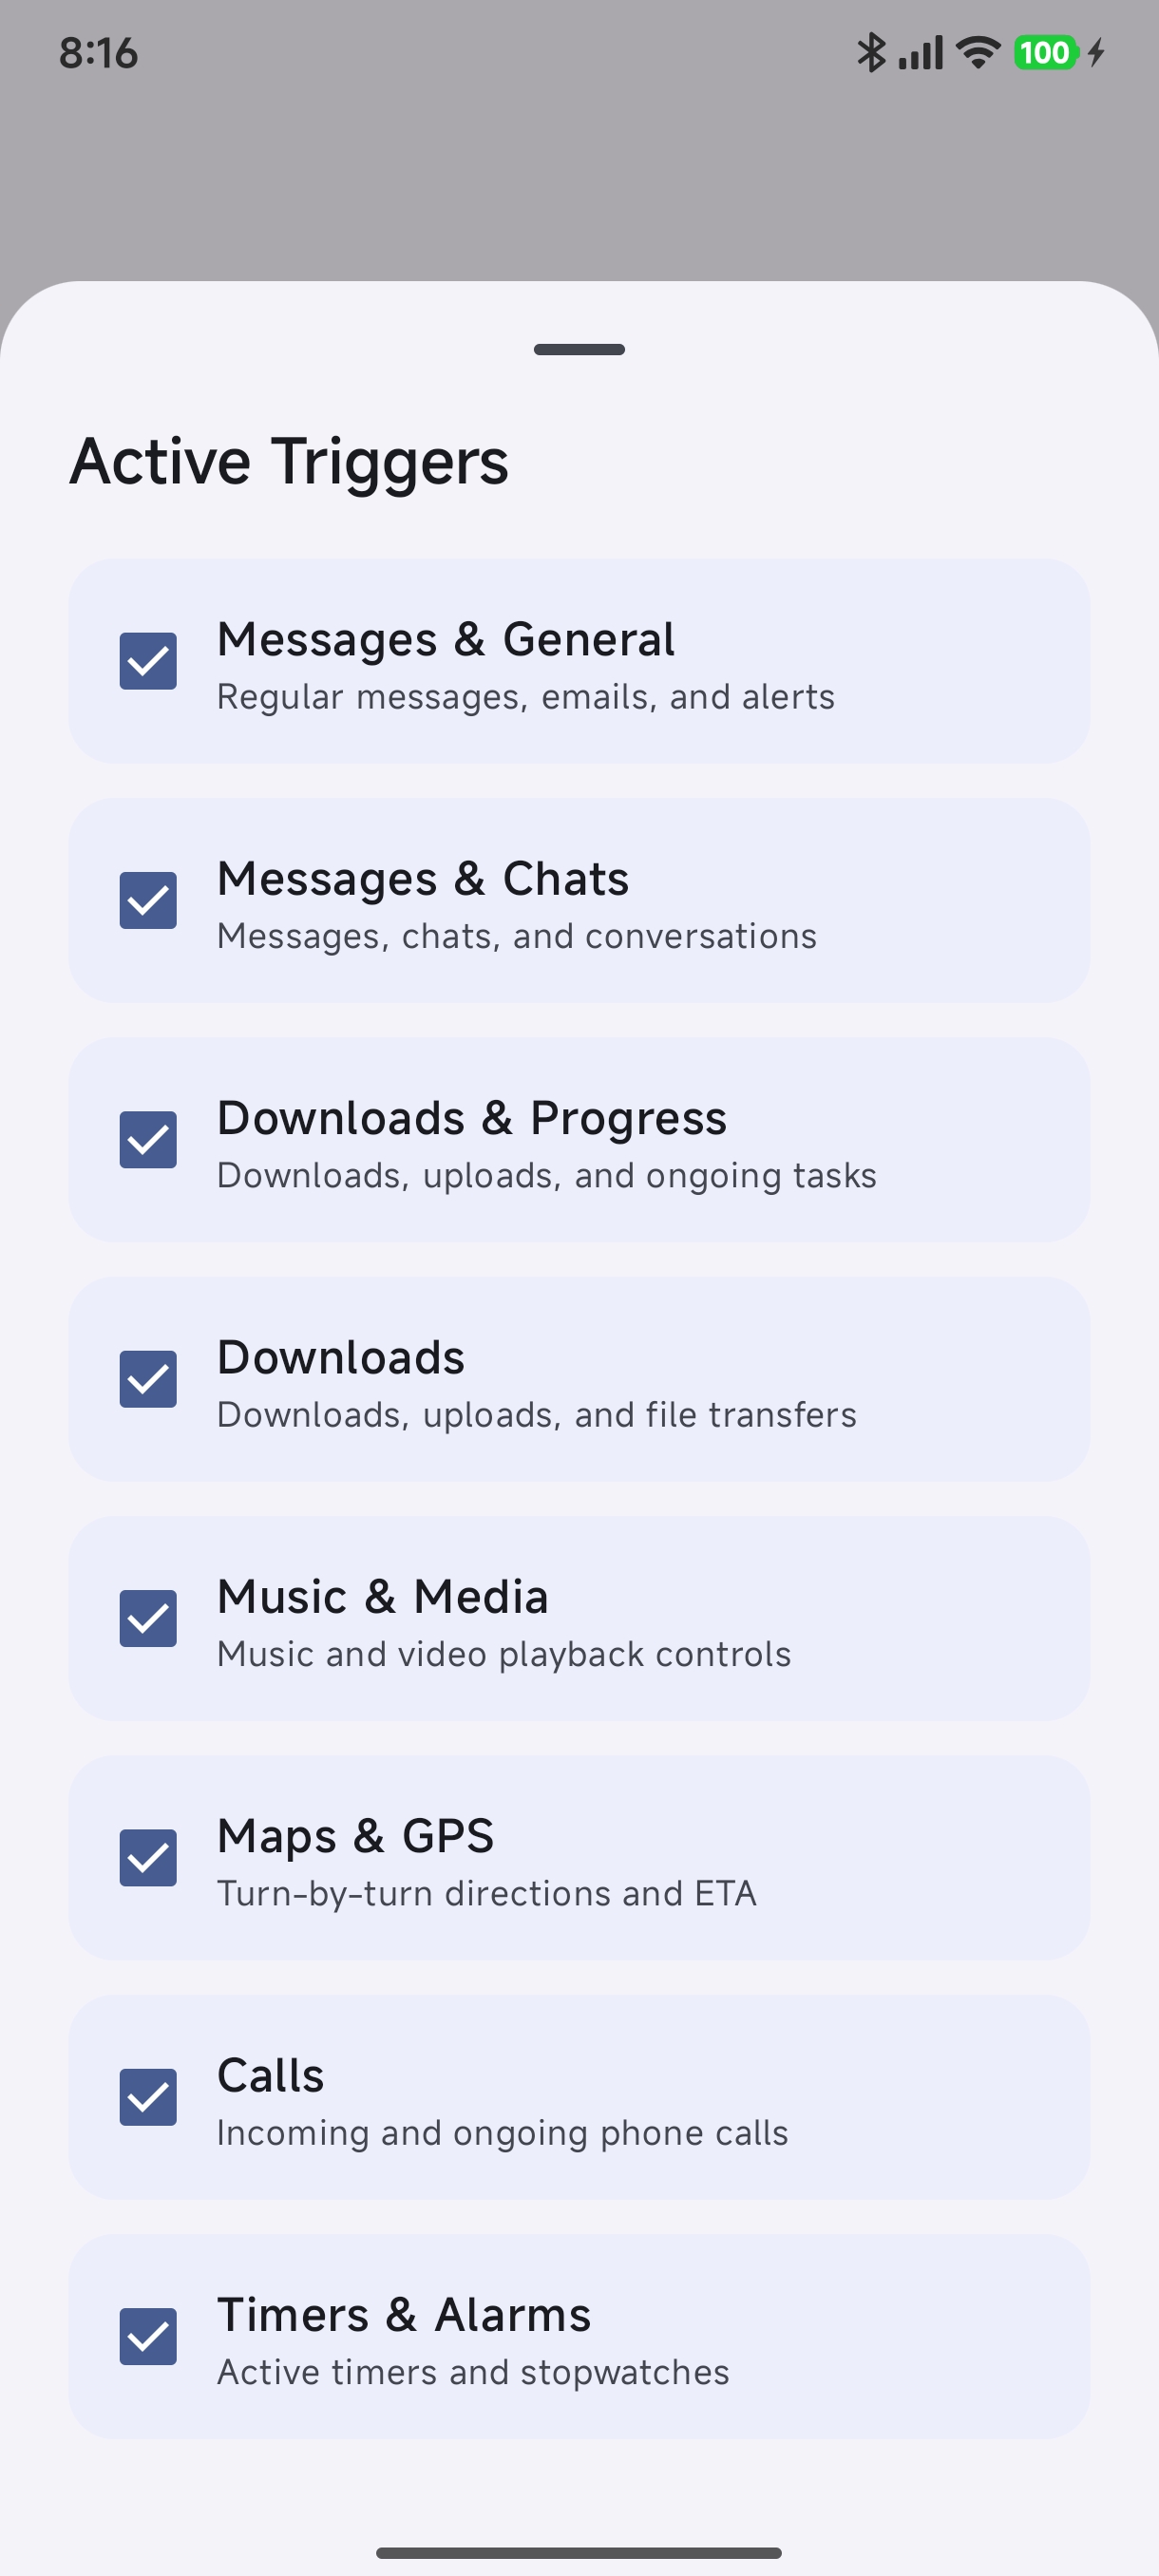
Steps 11 & 12: Active Triggers#
Tap Configure to select which system event categories spawn dynamic islands:
- Messages & General: Alerts, emails, and system notifications.
- Messages & Chats: Real-time conversations and messaging apps.
- Downloads & Progress: Ongoing file transfers, downloads, and progress bars.
- Music & Media: Audio playback controls and album artwork.
- Maps & GPS: Turn-by-turn navigation arrows and ETA updates.
- Calls: Incoming and ongoing phone calls with answer/decline controls.
- Timers & Alarms: Active stopwatches and countdown timers.
5. Island Engine Configuration#
Hyper Bridge supports two rendering engines tailored to different ROM variants:
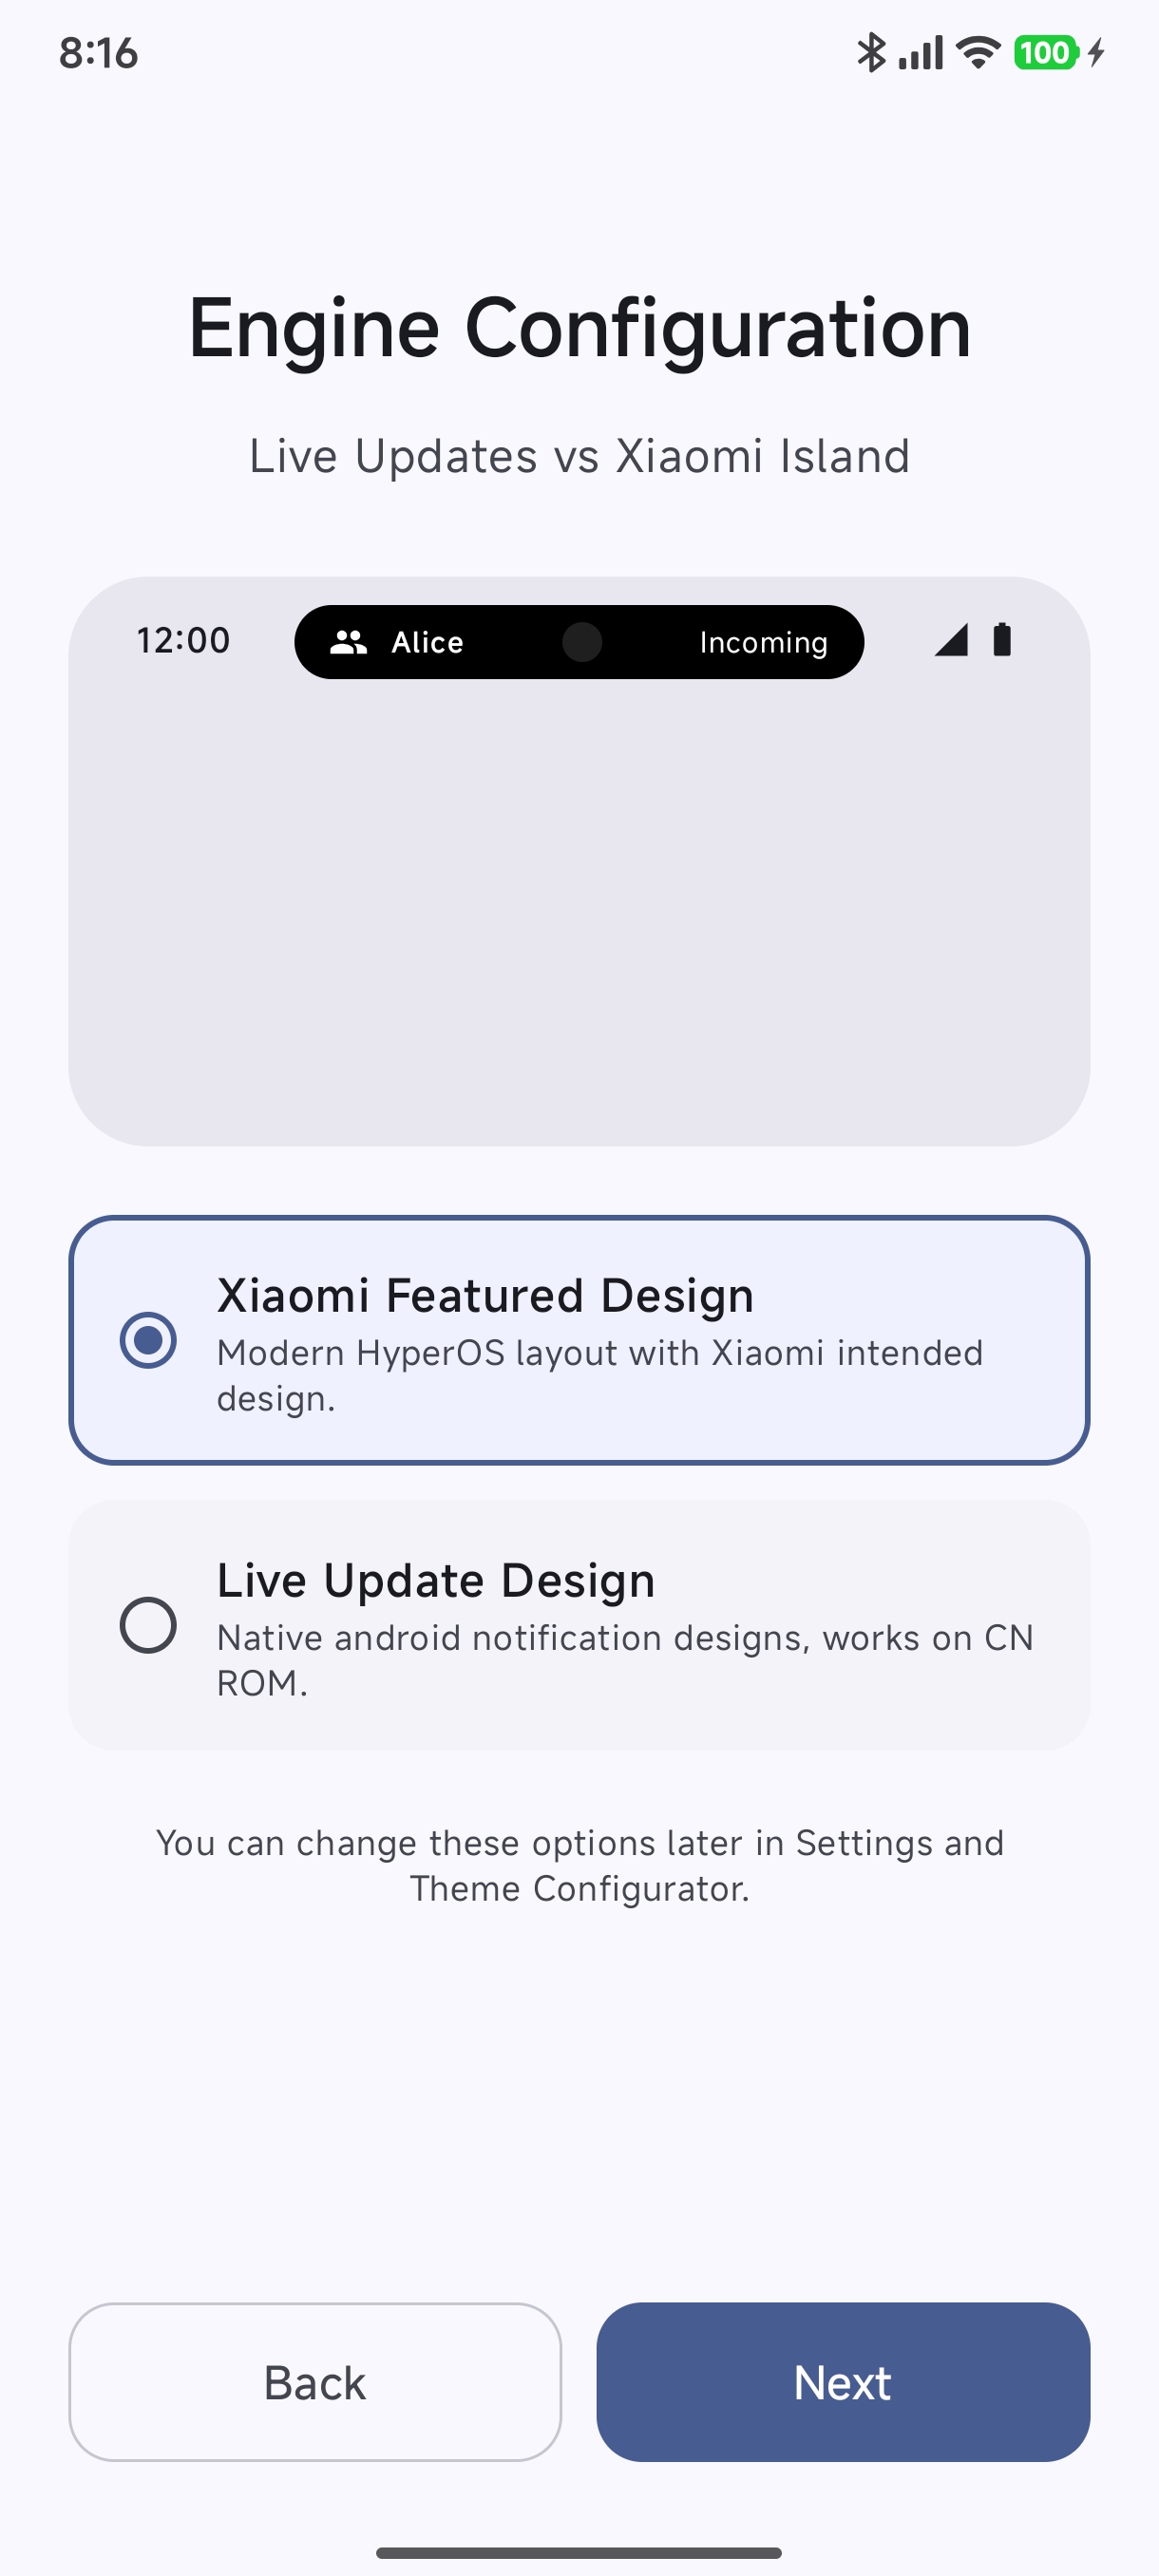
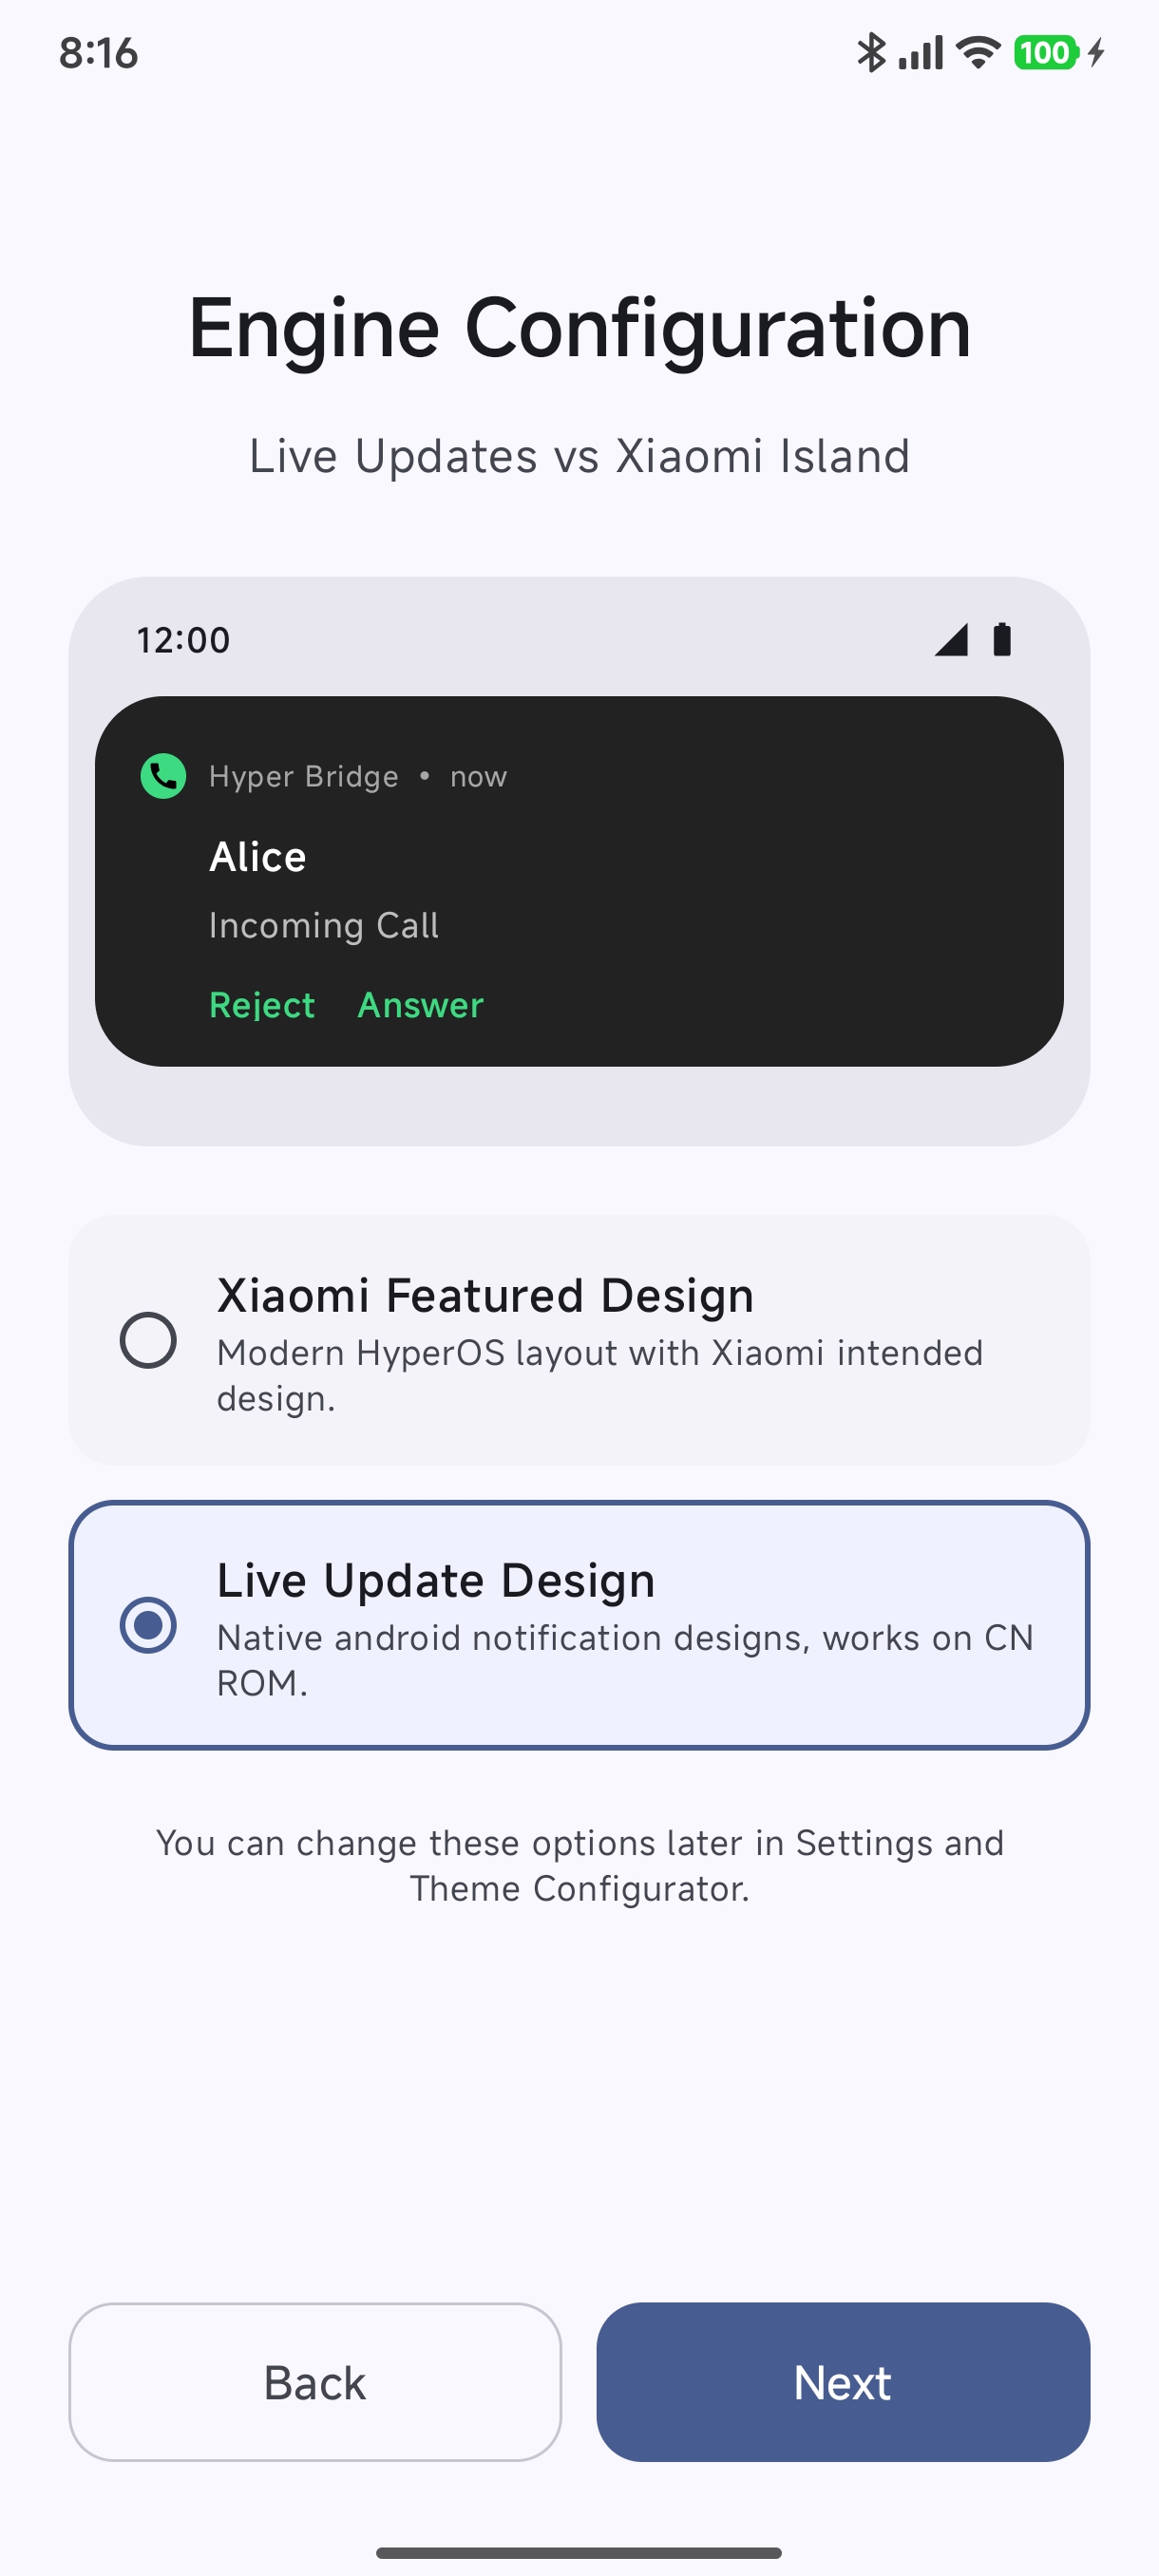
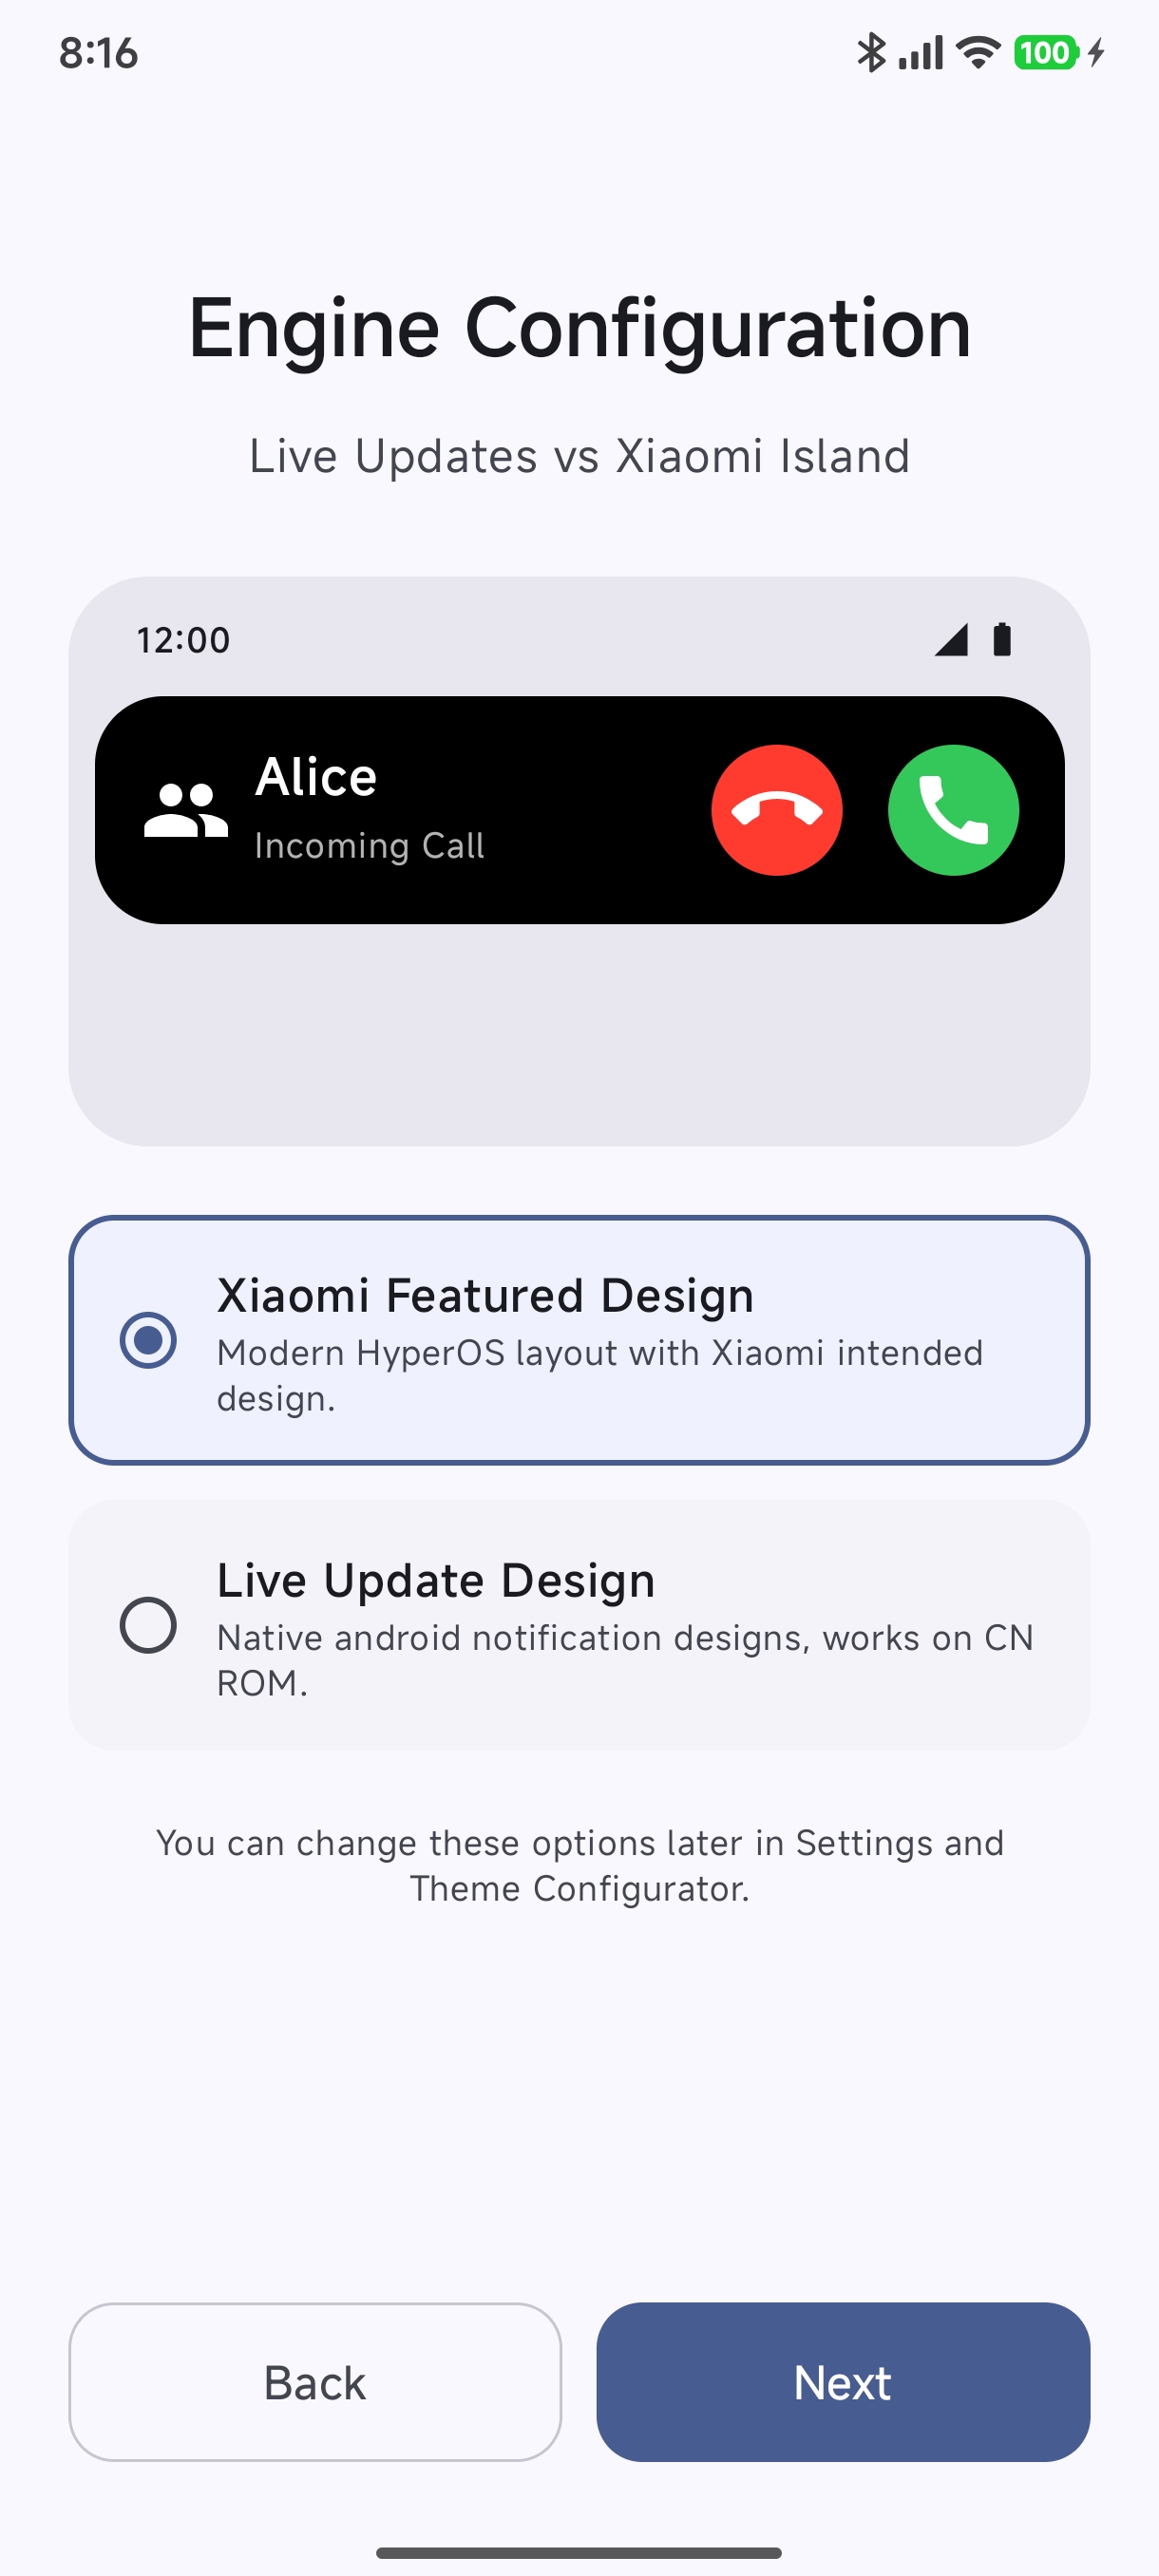
Steps 13 – 15: Engine Selection#
- Xiaomi Featured Design (Recommended for Global/EEA): Renders the full modern Xiaomi HyperOS HyperIsland with rich card layouts, status pills, and expressive animations.
- Live Update Design (Recommended for CN ROMs): Utilizes native Android notification channels and Live Update designs to bypass CN ROM system UI restrictions without Shizuku.
6. Island Queue & Dismissal Rules#
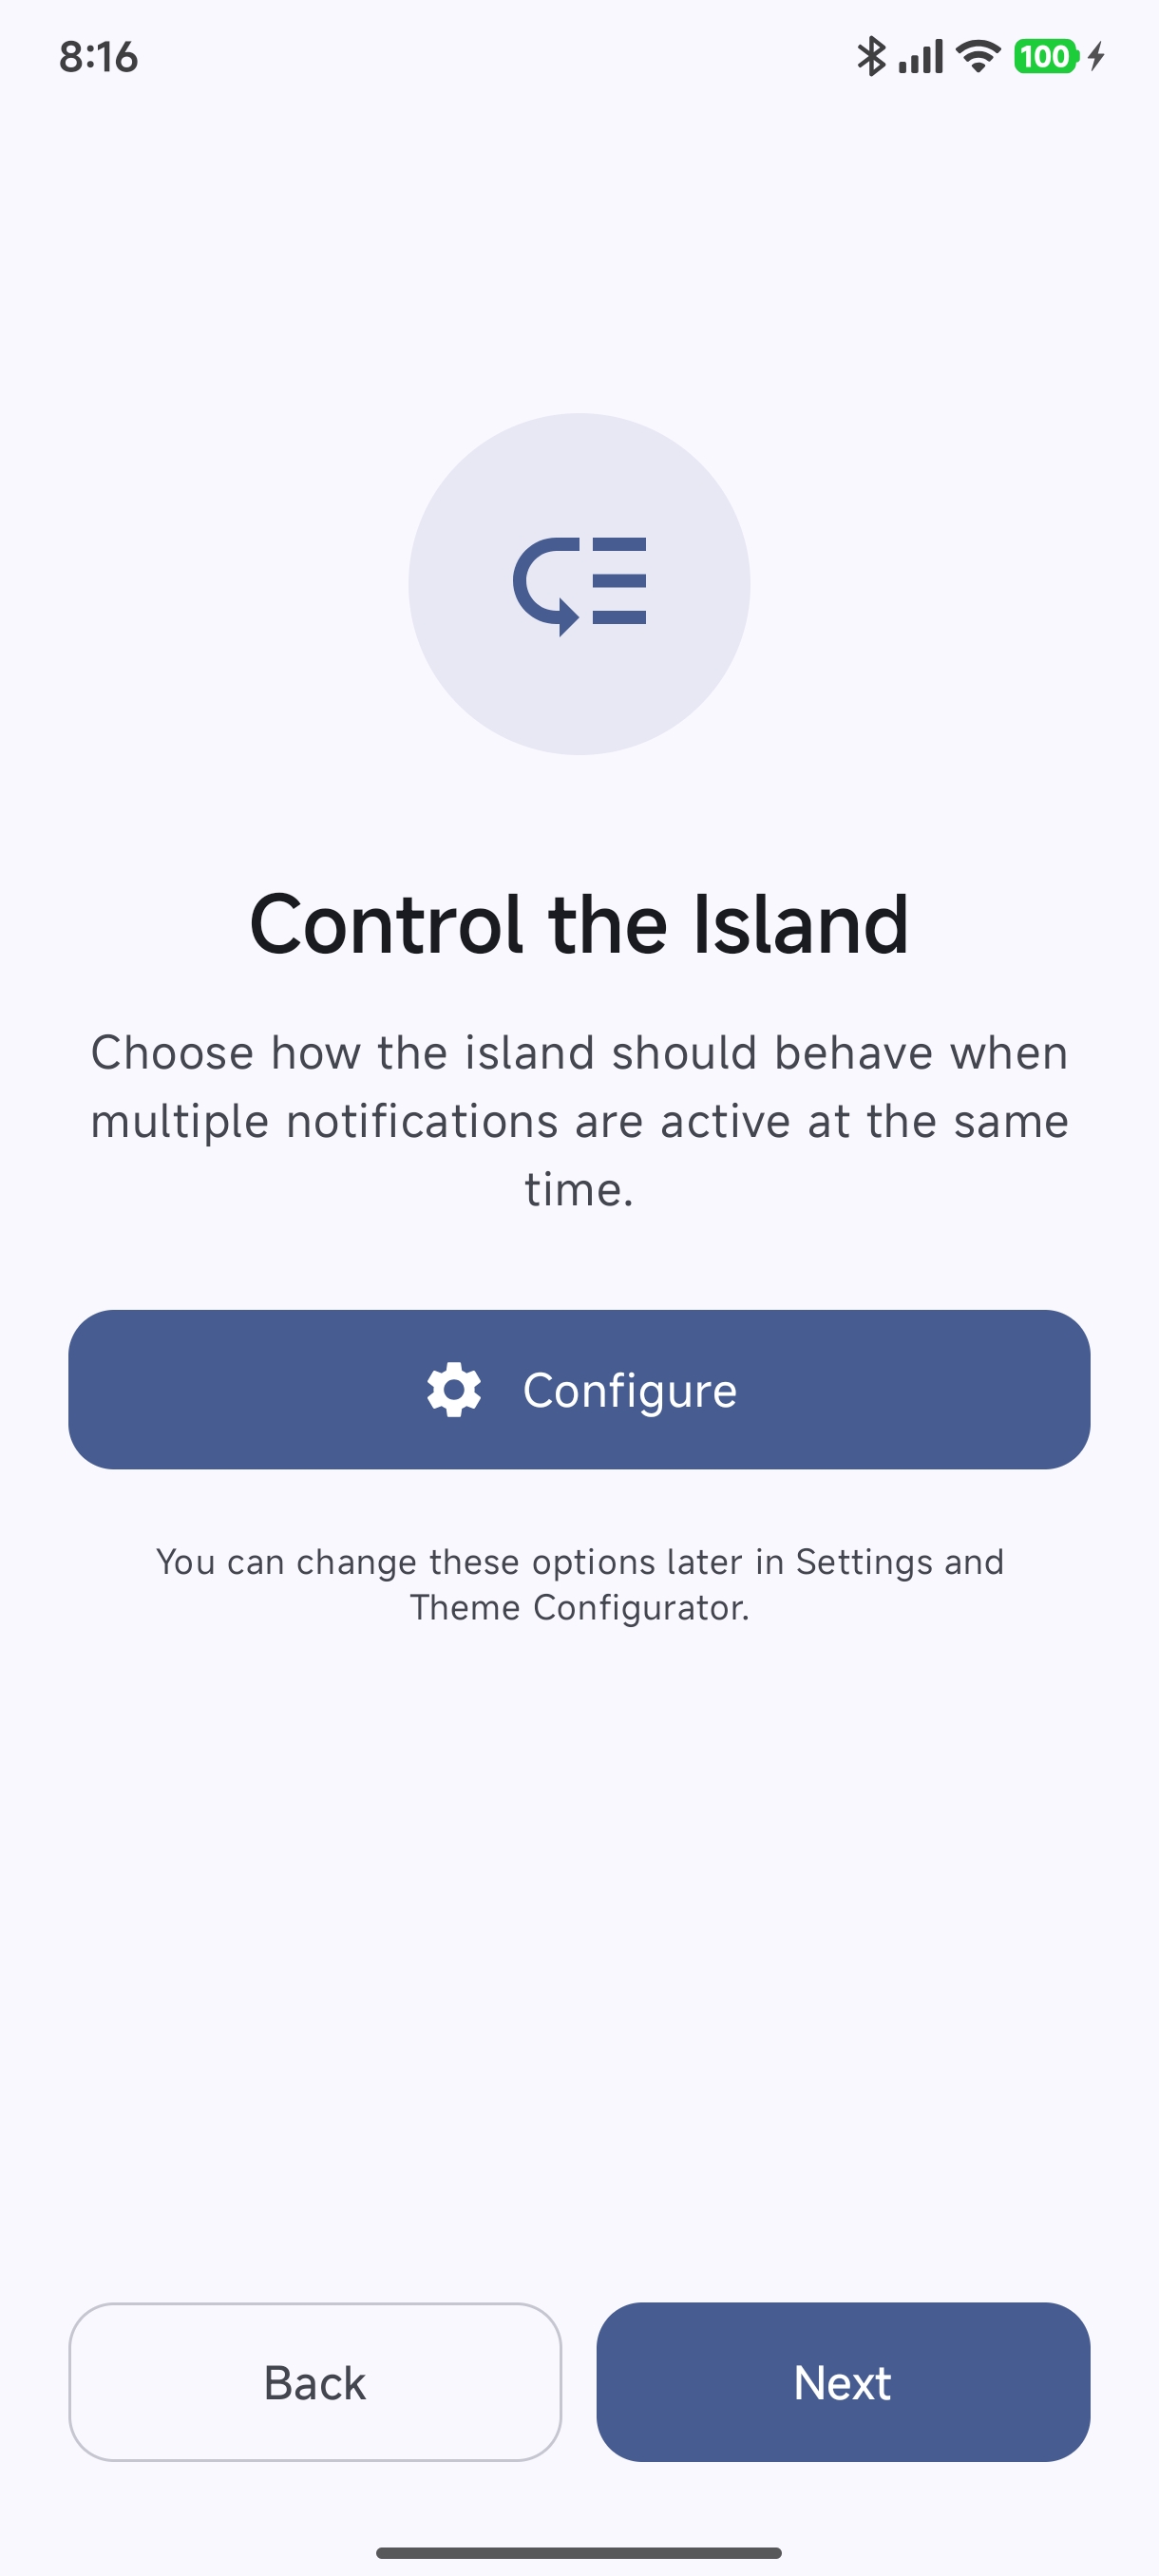
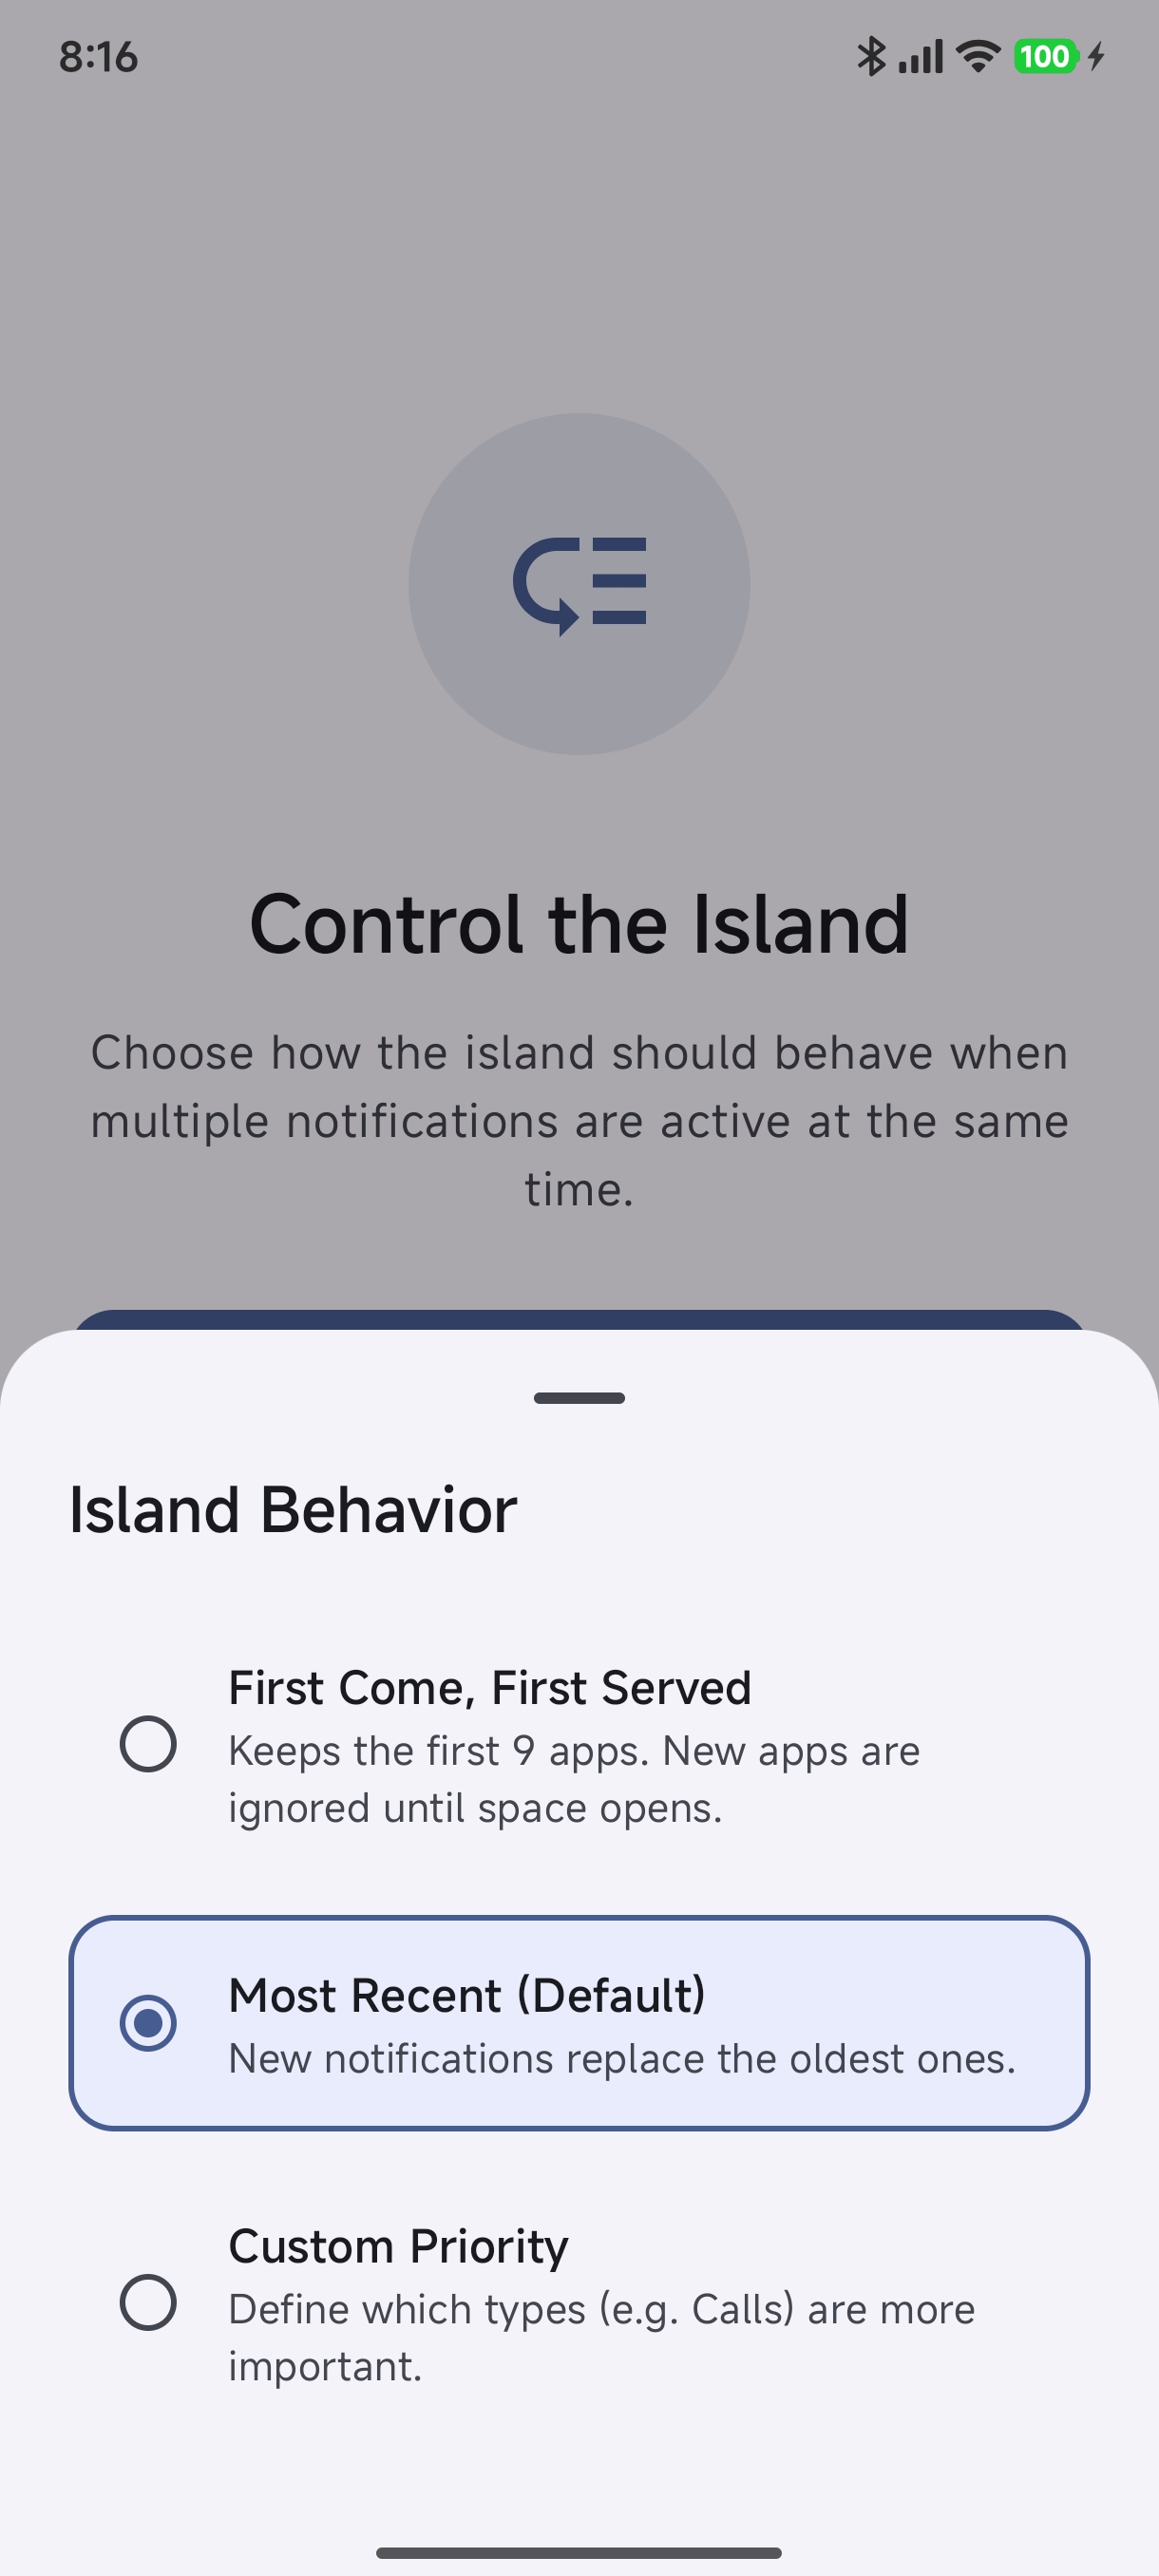
Steps 16 & 17: Multi-Notification Queue#
Tap Configure to define how Hyper Bridge manages simultaneous notifications:
- Most Recent (Default): Newer notifications immediately replace older ones in the active island.
- First Come, First Served: Keeps the first 9 apps active, queueing new arrivals until space opens.
- Custom Priority: Prioritizes specific high-value categories (e.g. phone calls and navigation always outrank chats).
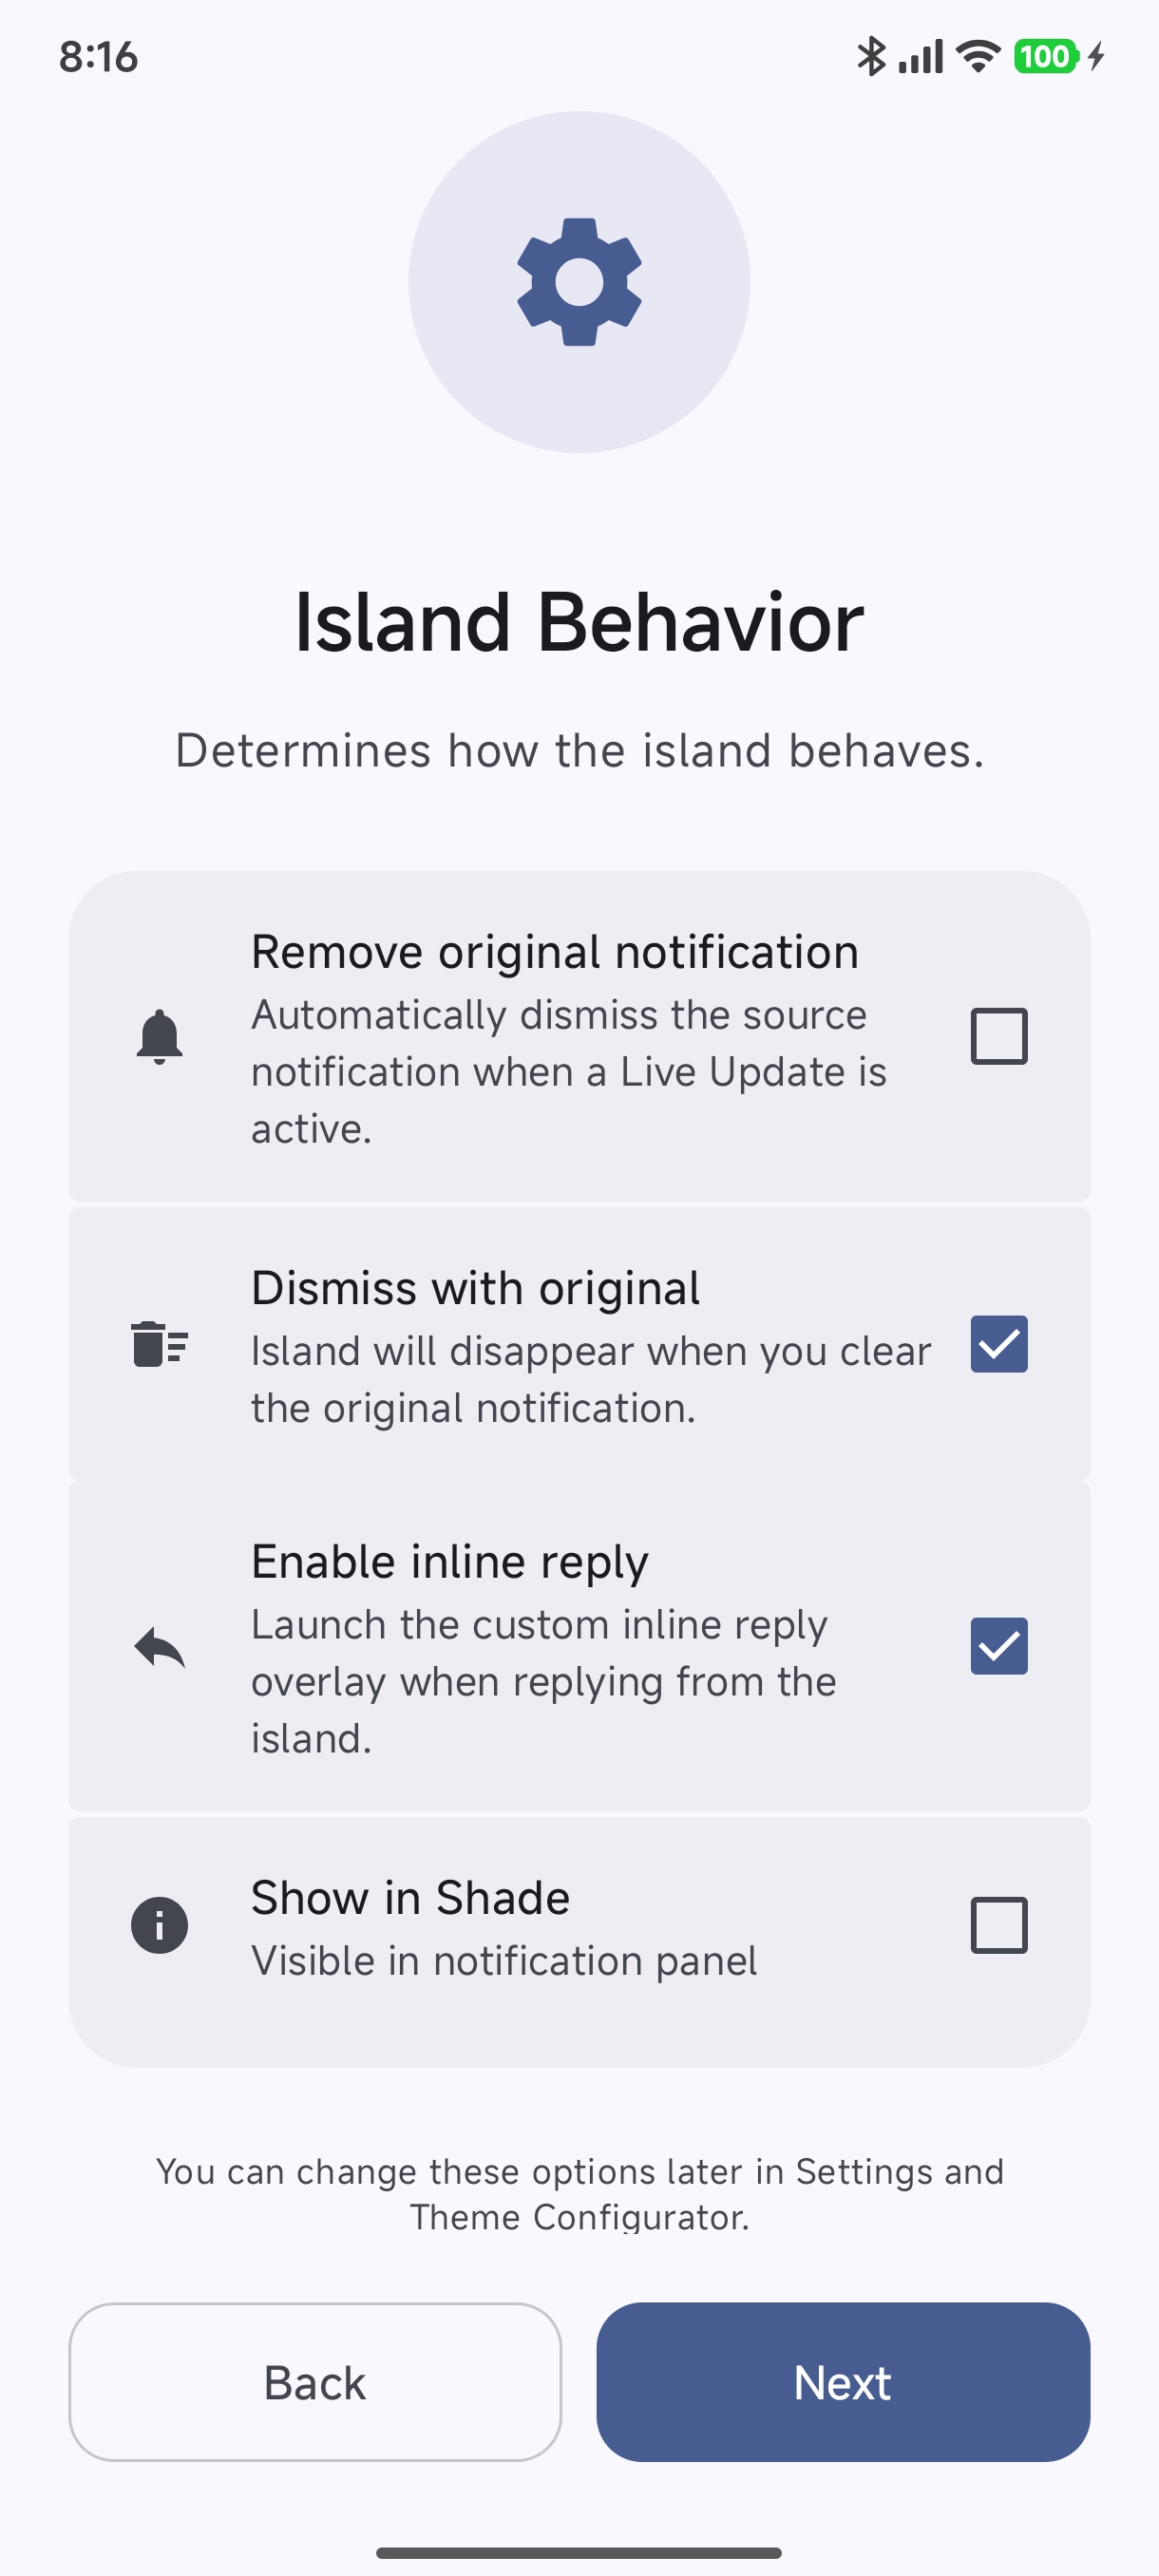
Step 18: Notification Lifecycle Rules#
- Remove original notification: Automatically dismisses the original Android notification when a Live Update is active.
- Dismiss with original: When you swipe away a notification in the notification shade, the corresponding island immediately collapses and dismisses.
- Enable inline reply: Enables the quick floating reply box directly from the island.
- Show in Shade: Keep notifications visible in the drop-down notification shade in addition to the floating island.
7. Do Not Disturb, Timeouts & Permanent Island#
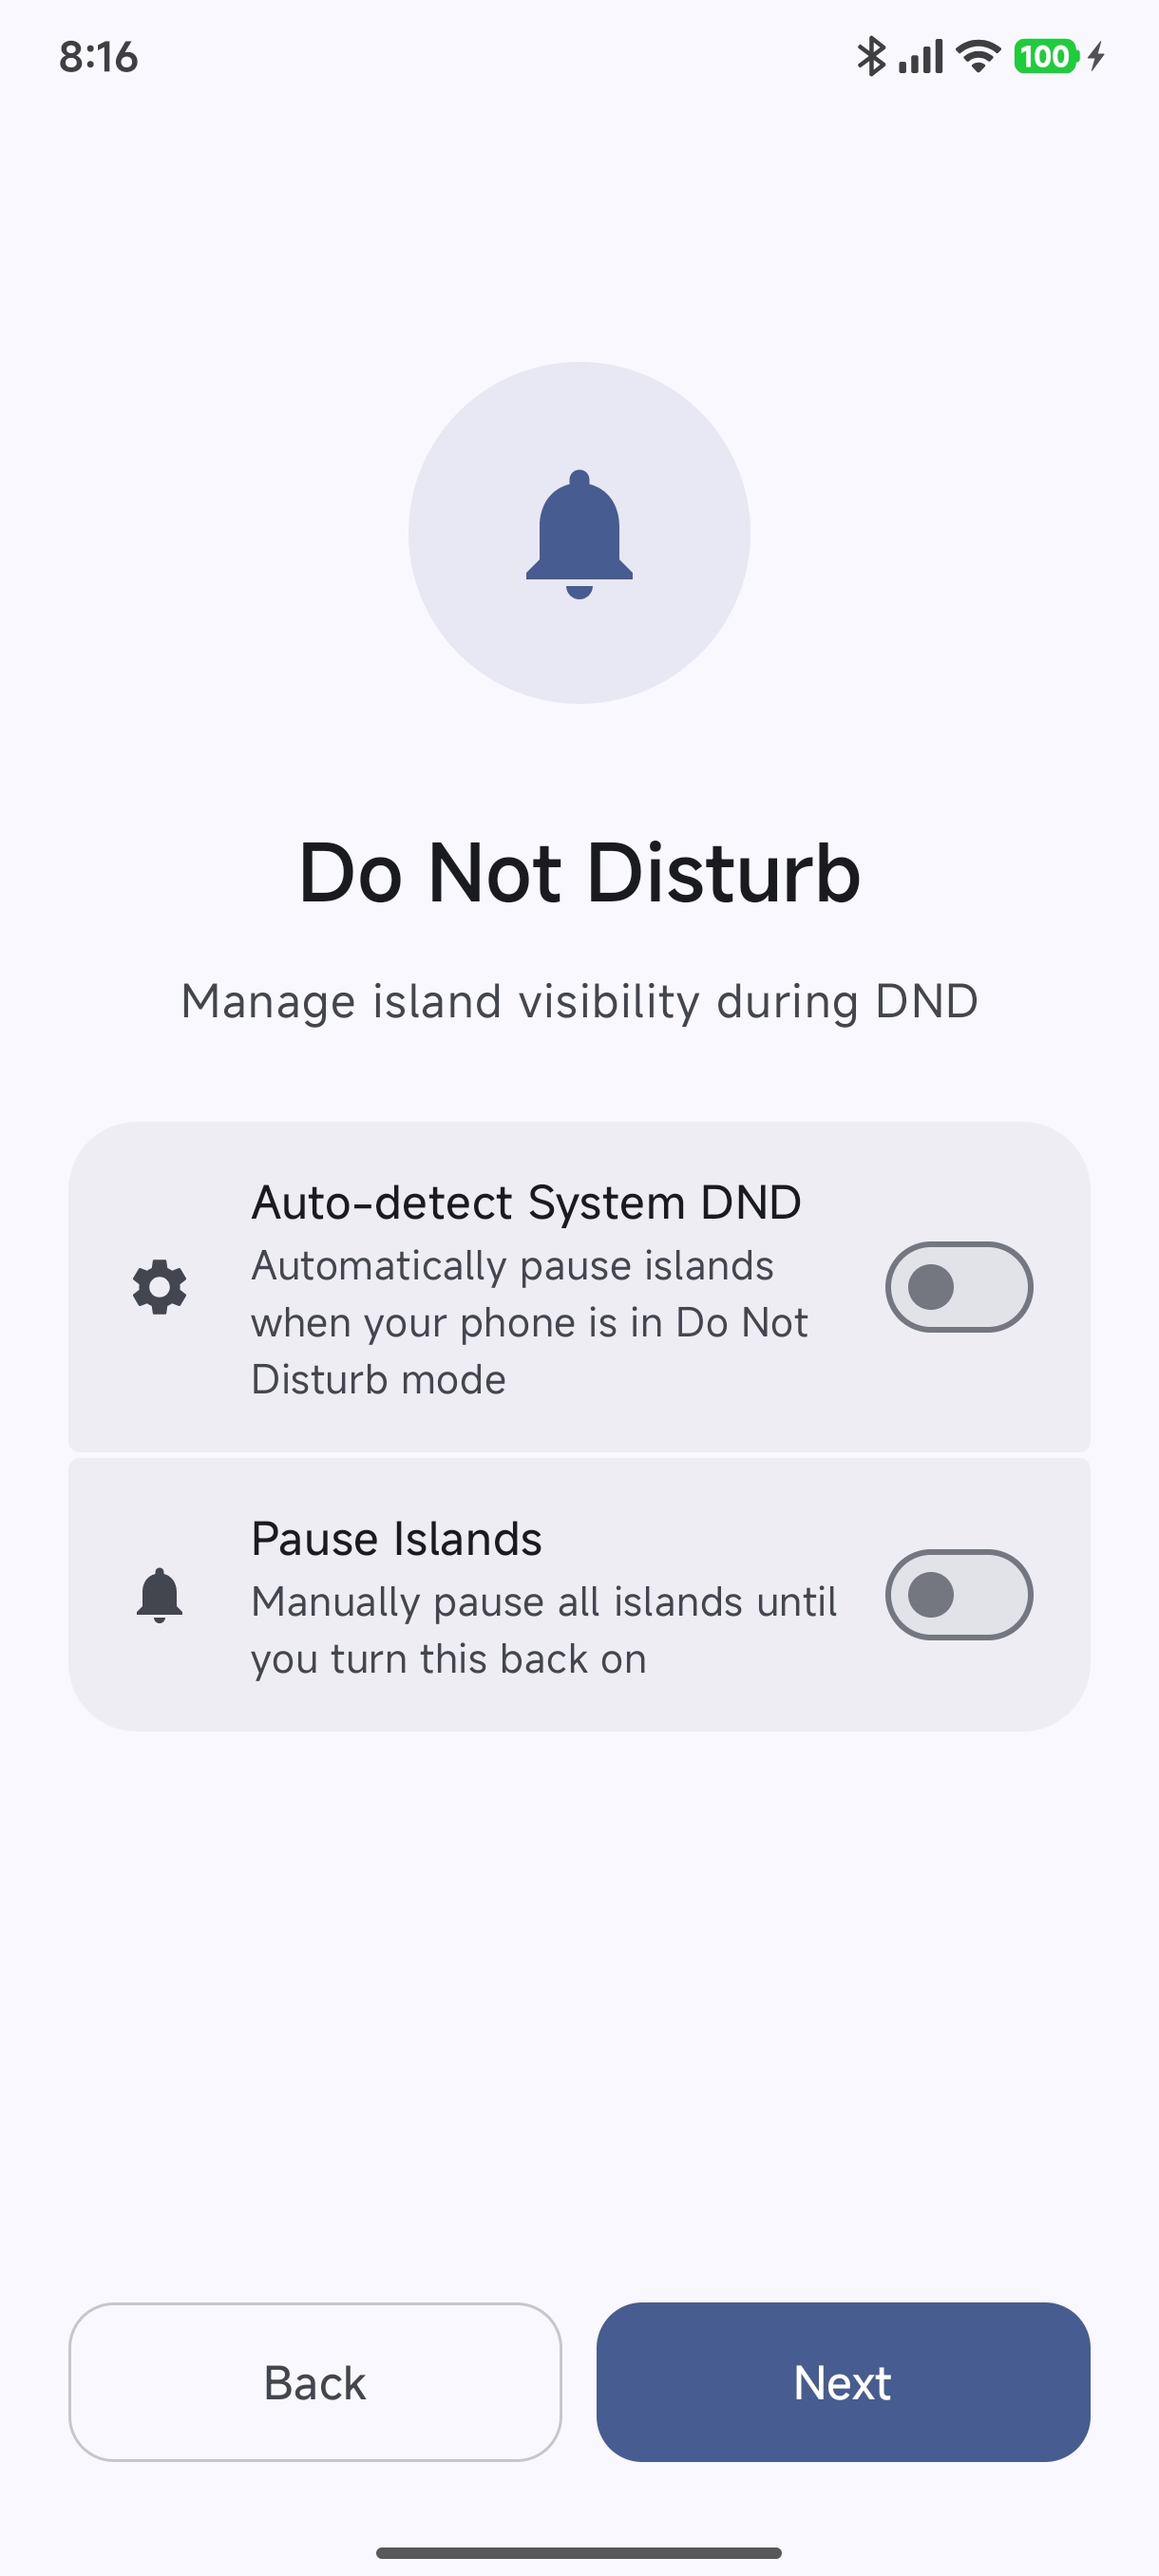
Step 19: Do Not Disturb (DND)#
- Auto-detect System DND: When enabled, automatically pauses all island popups while your device is in Do Not Disturb mode.
- Pause Islands: Manual toggle to silence all island popups temporarily without altering system settings.
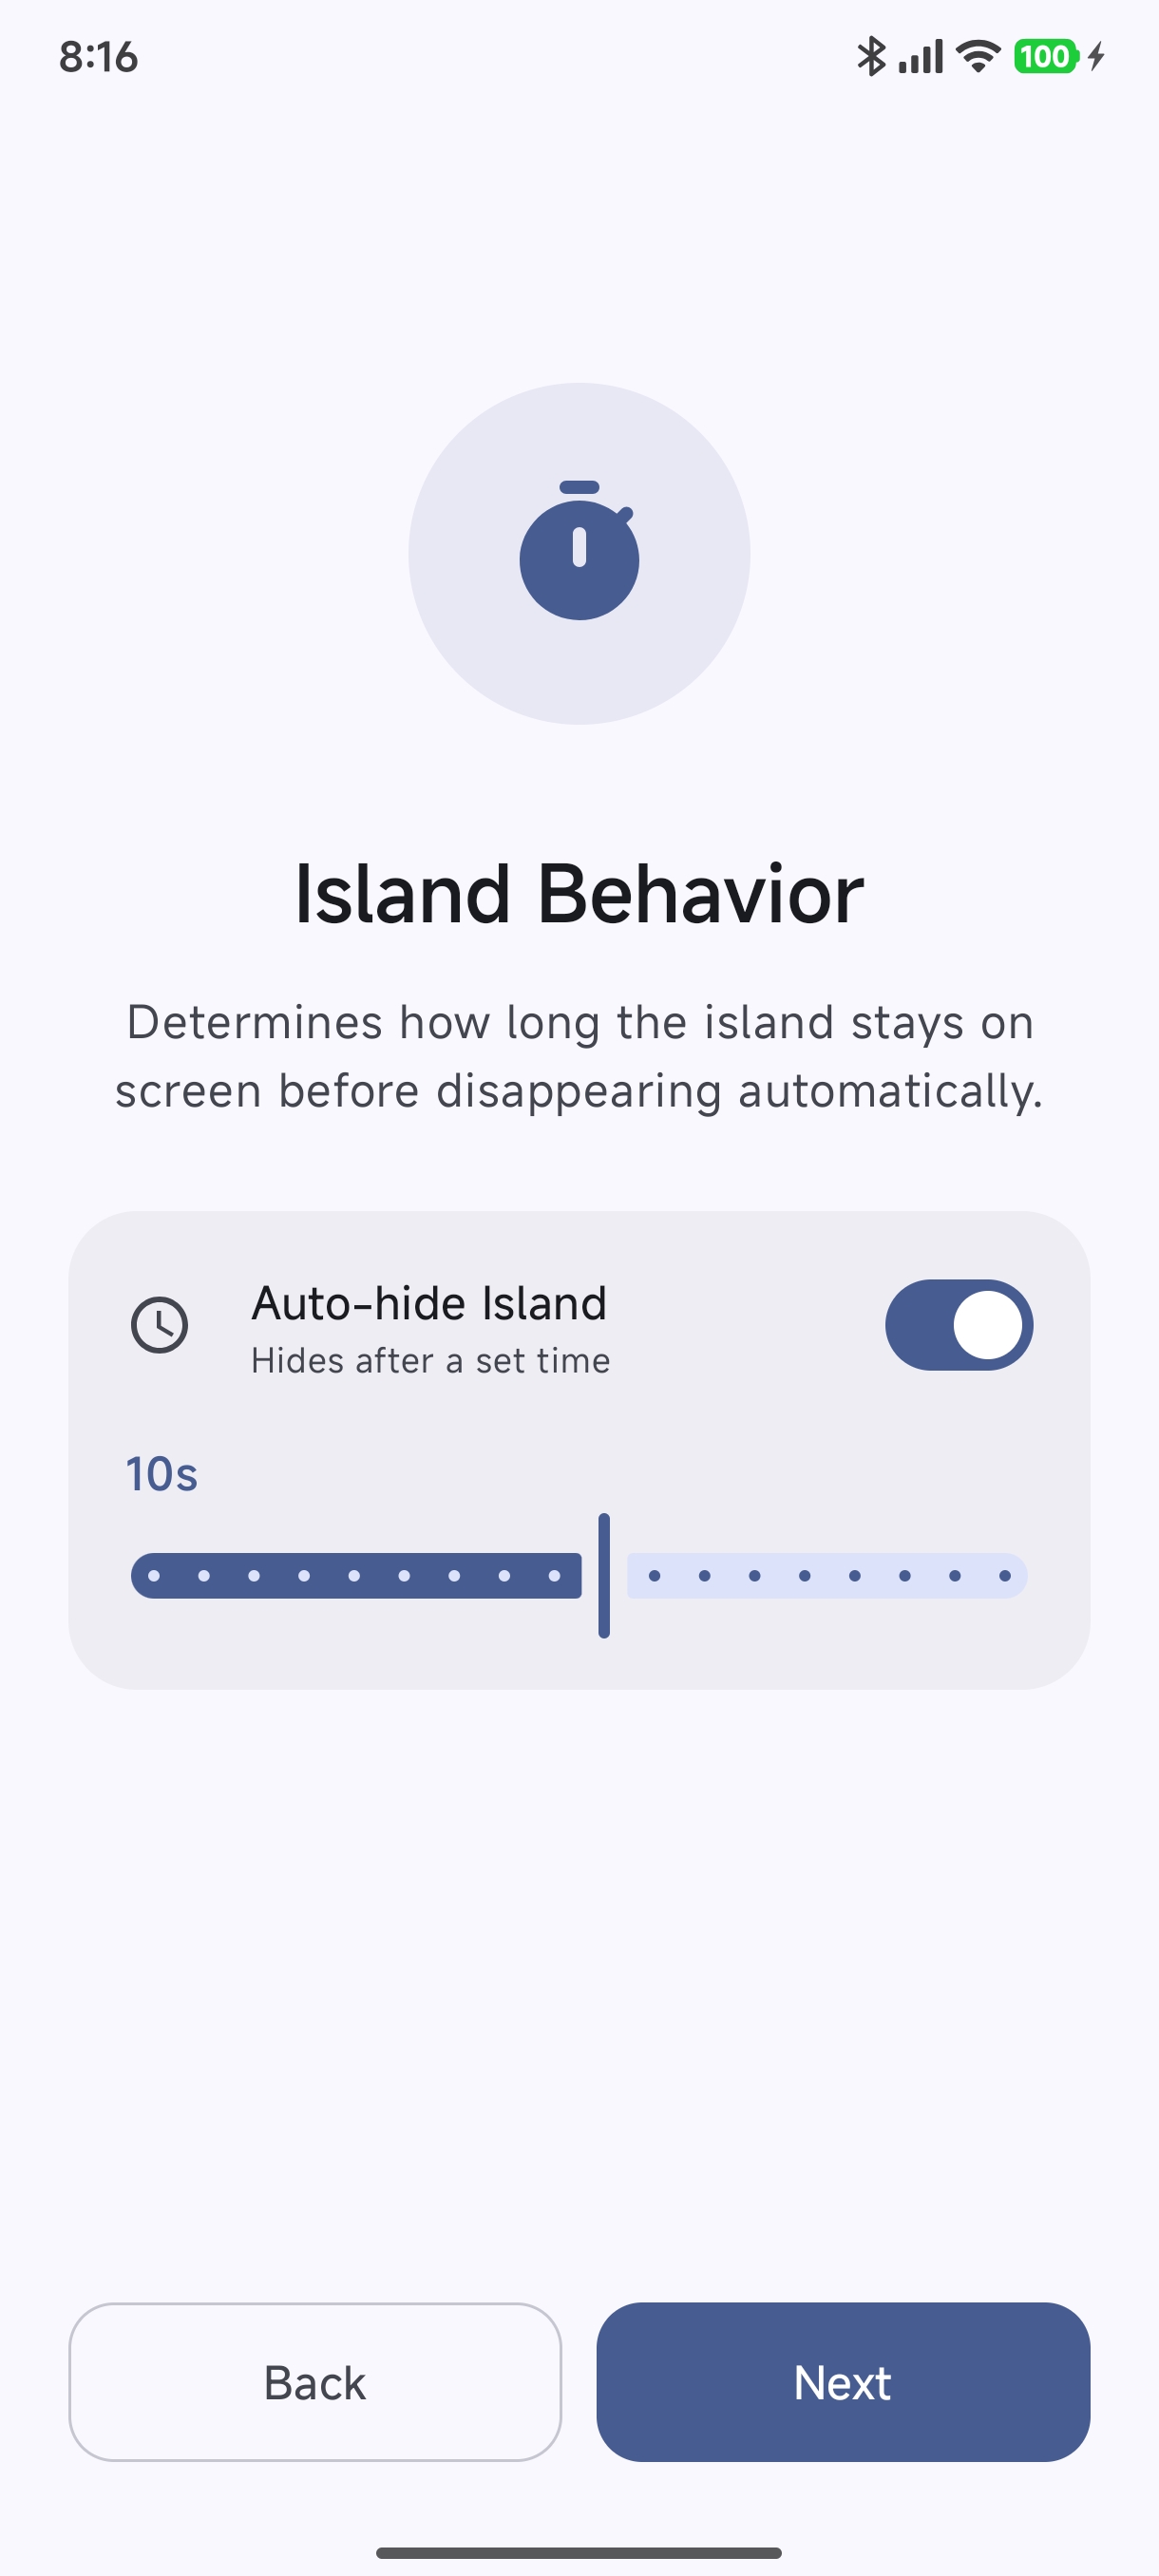
Step 20: Auto-hide Timeout#
- Auto-hide Island: When toggled on, the expanded dynamic island automatically collapses into a compact pill after a user-defined delay (default 10 seconds).
- Adjust the interactive slider to fit your preference (from 5 seconds up to 60 seconds).
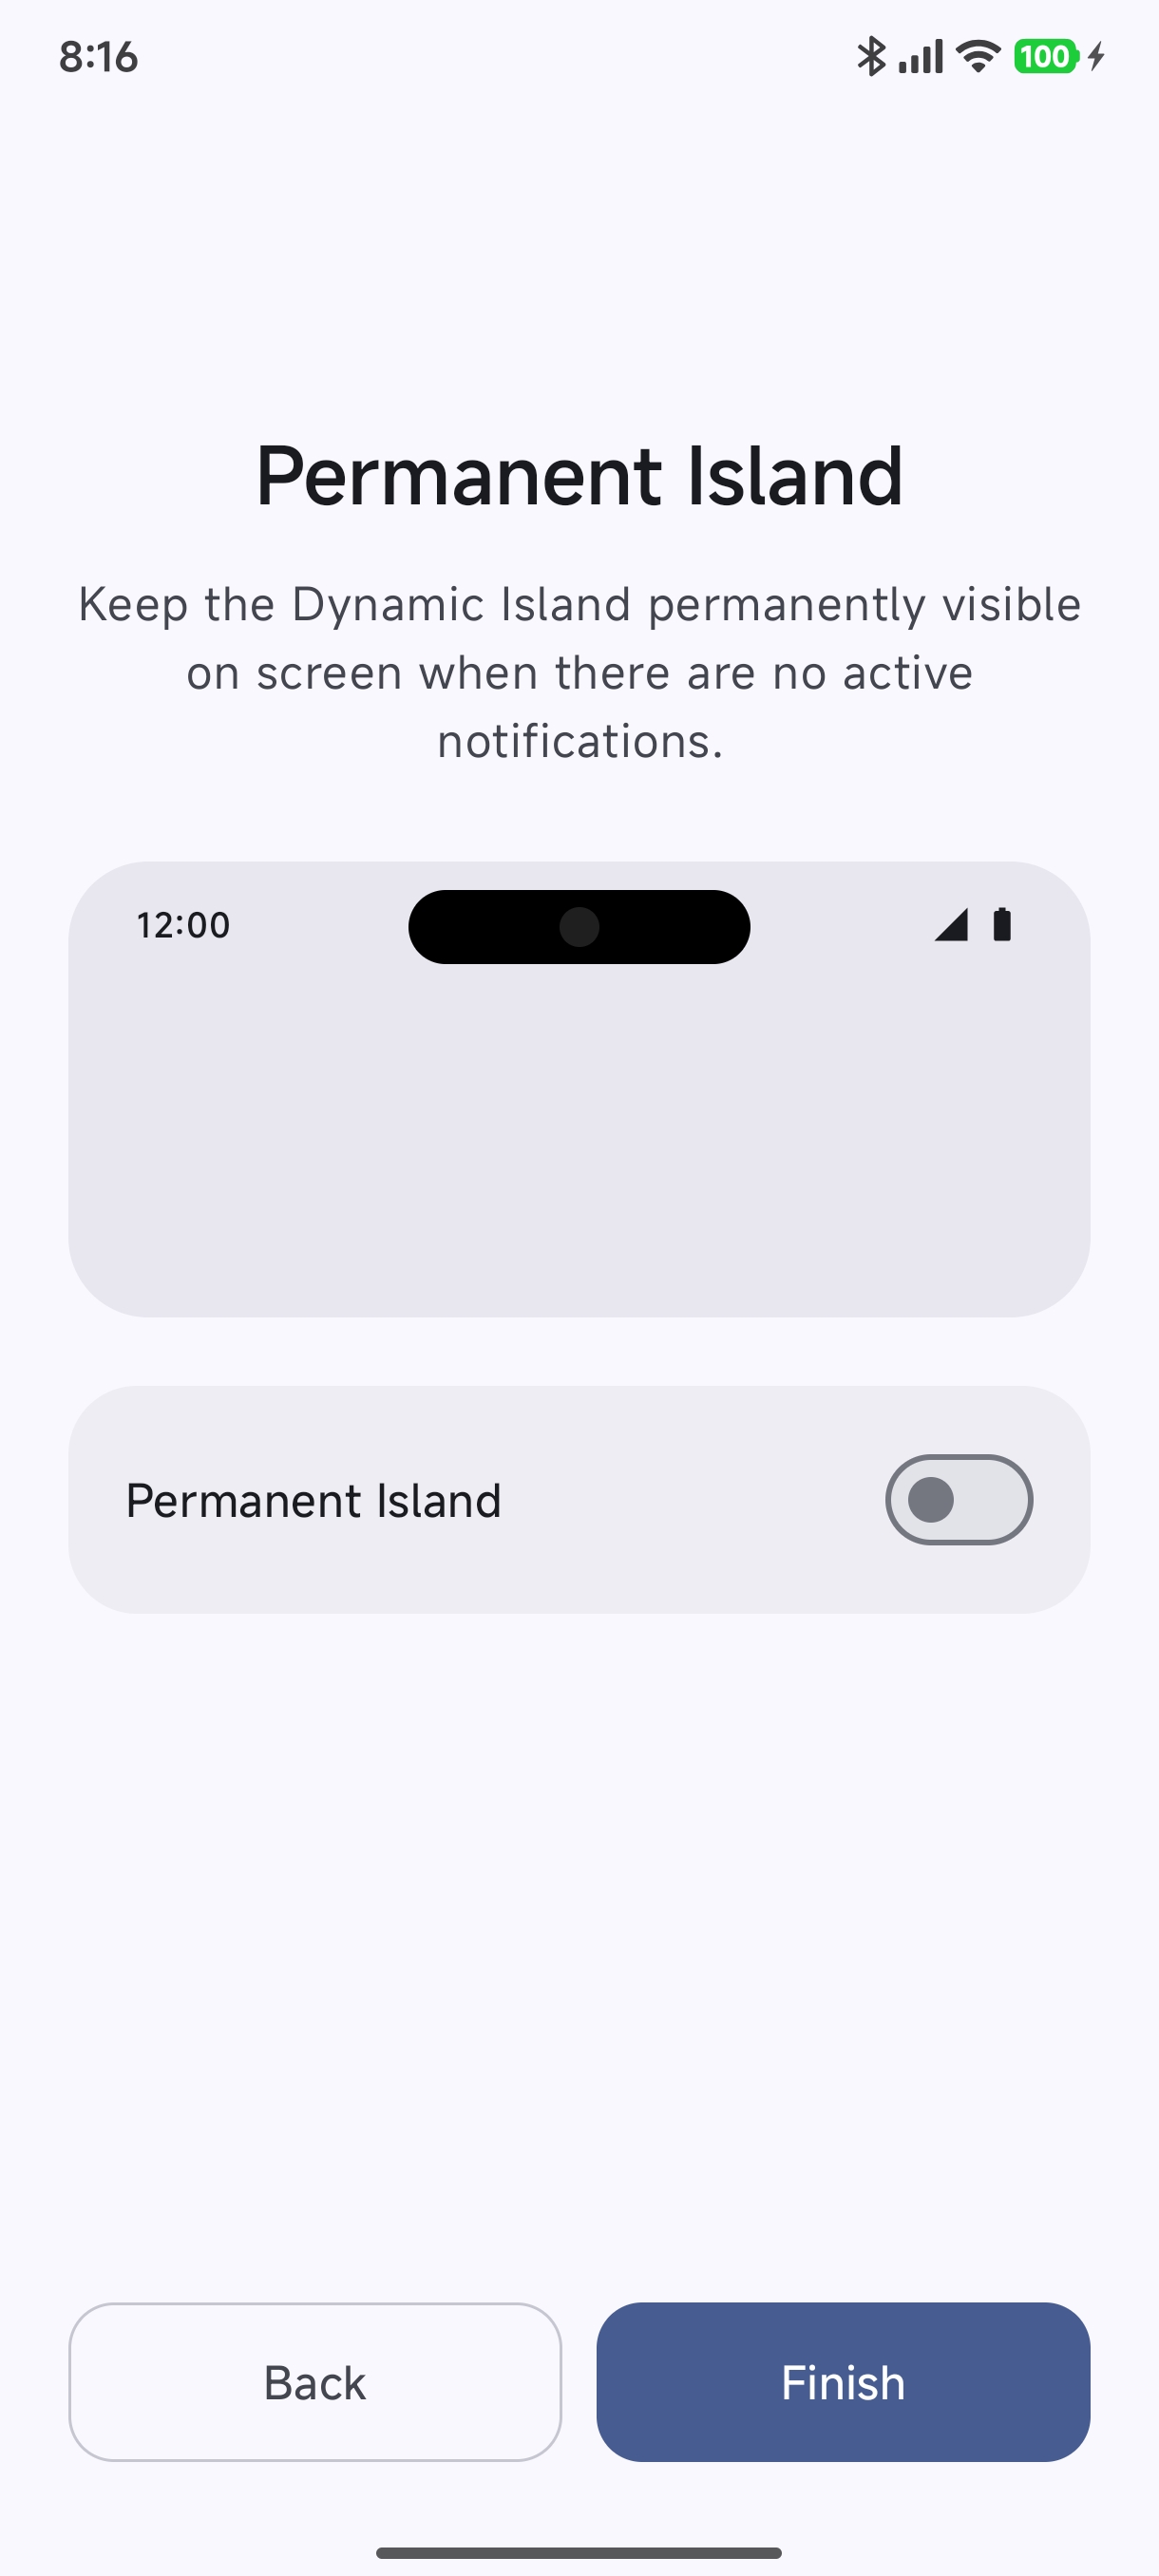
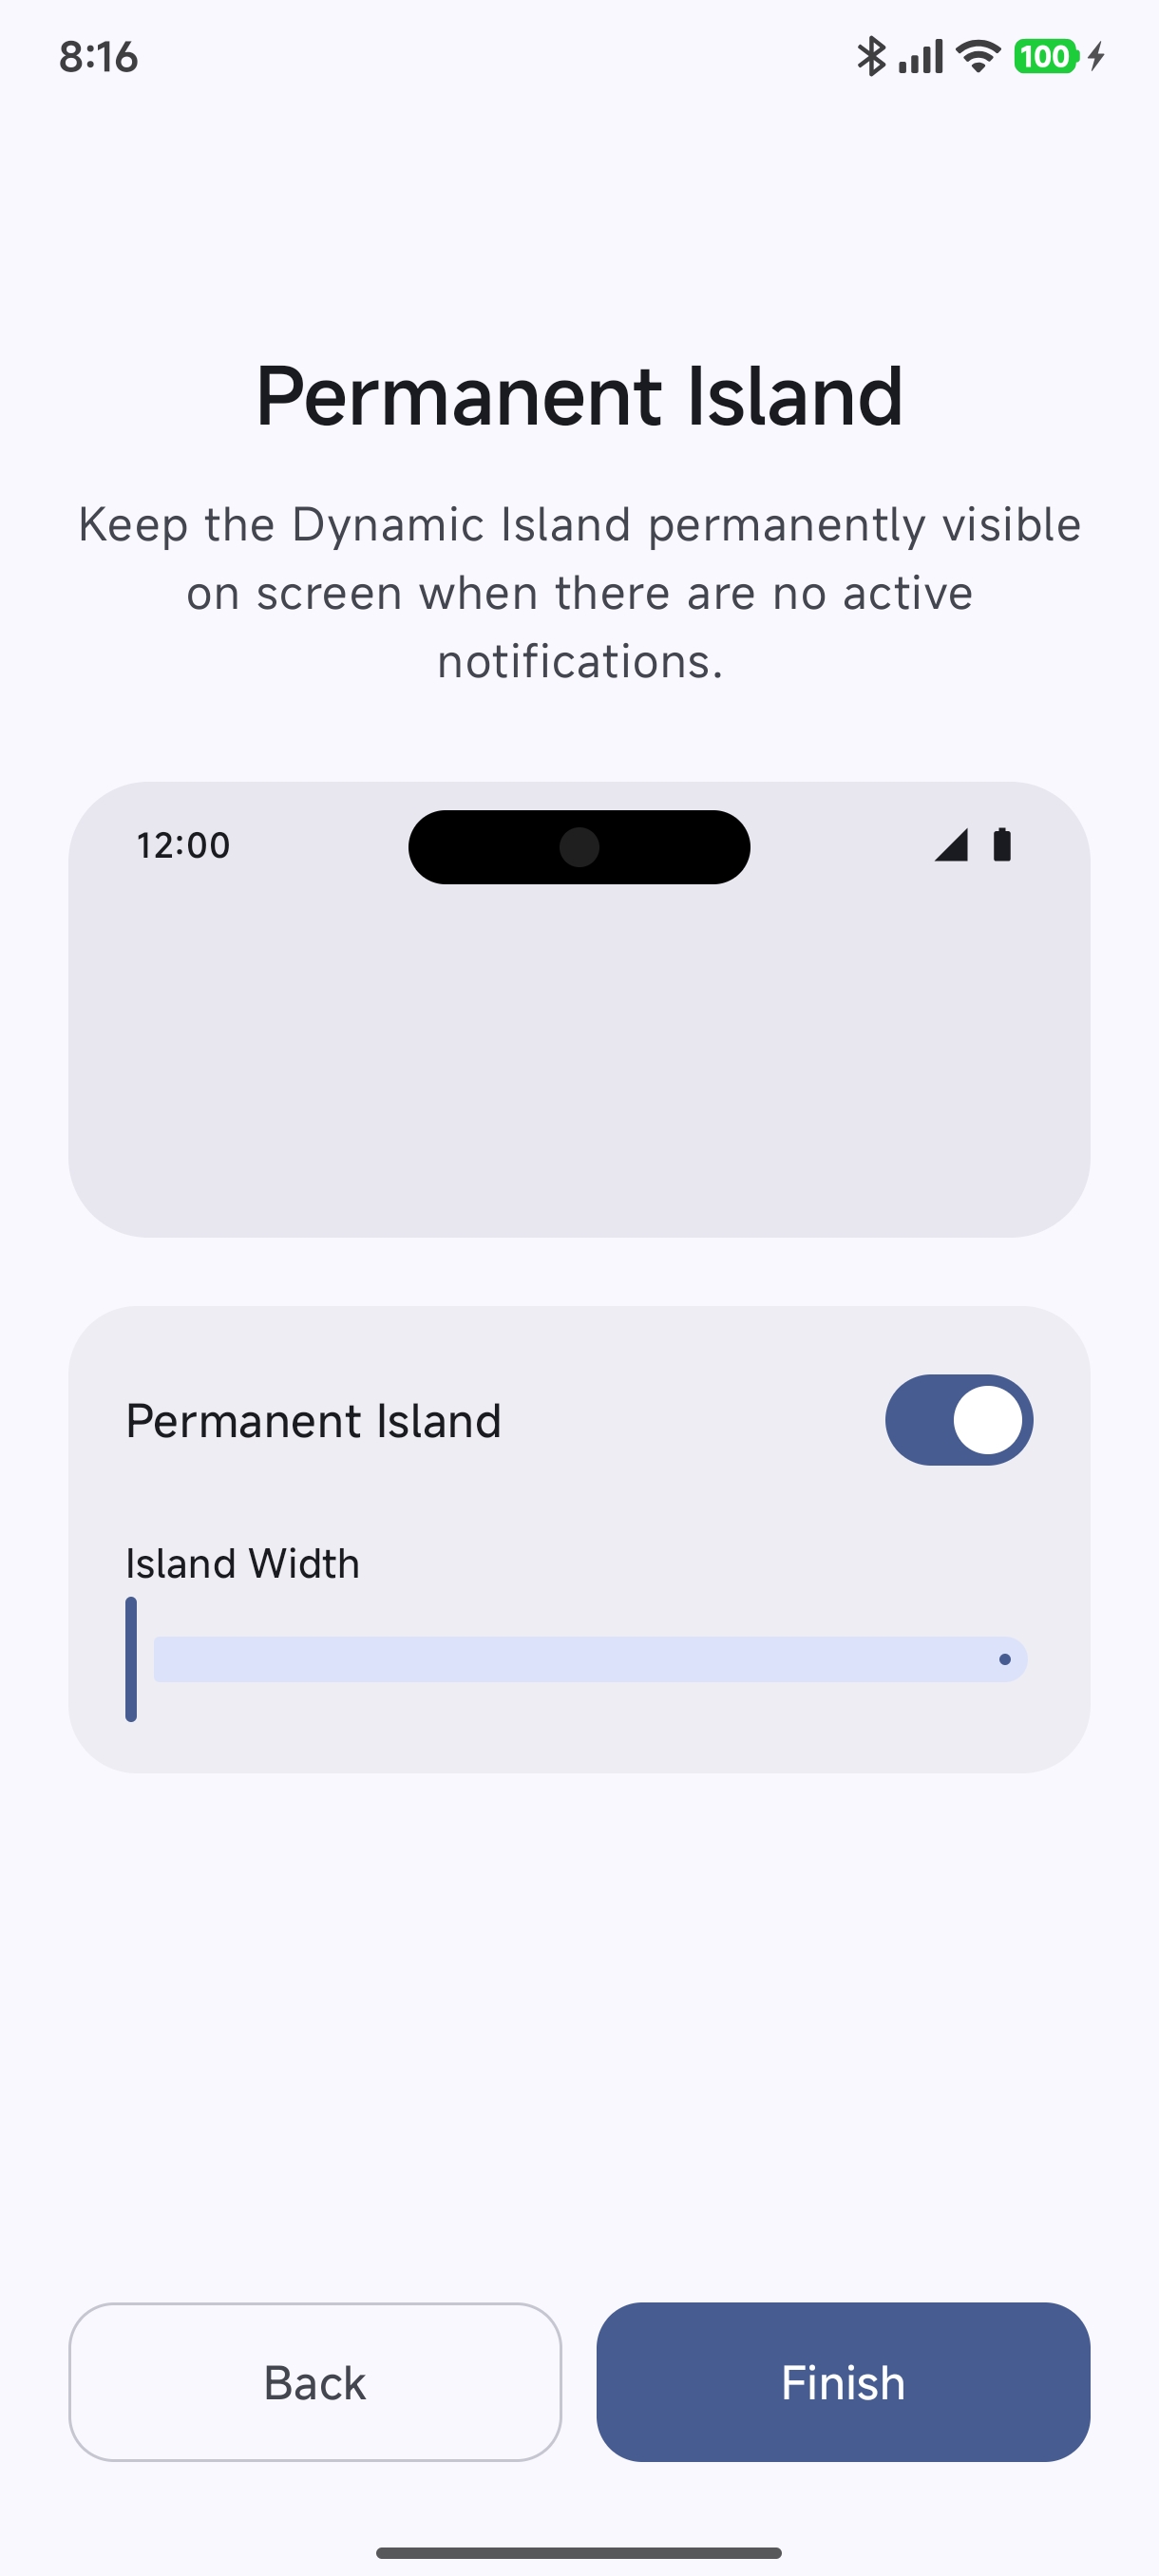
Steps 21 & 22: Permanent Island#
Want your camera punch hole to always look like an integrated dynamic island even when no music is playing and no notifications are active?
- Toggle Permanent Island on.
- Use the Island Width slider to calibrate the width of the black pill to match your device’s camera hole perfectly.
- Tap Finish to complete the setup wizard!
Next Steps#
Congratulations! Hyper Bridge is now fully configured and actively running.
- Managing & Enabling Apps: Choose which apps trigger dynamic islands and enable auto-bridging.
- Native System Apps & Options: Configure Screen Recording, System Update, and VPN islands.
- Design Studio & Hub: Customize colors, styles, and templates.
- System Widgets Guide: Add widgets from your favorite apps.
- Custom Translators Guide: Create custom notification rules with regex matching and smart actions.
- Troubleshooting & Diagnostics: Test permissions and inspect active system states.